Brother Business Smart MFC-J4510dw Руководство по быстрой настройке - Страница 10

Просмотреть онлайн или скачать pdf Руководство по быстрой настройке для Сервер печати Brother Business Smart MFC-J4510dw. Brother Business Smart MFC-J4510dw 47 страниц. Quick setup guide - spanish
Также для Brother Business Smart MFC-J4510dw: Руководство (36 страниц), Руководство (22 страниц), Руководство по безопасности продукции (17 страниц), Руководство (13 страниц), Руководство (22 страниц), Руководство по быстрой настройке (47 страниц), Руководство (18 страниц), Брошюра и технические характеристики (4 страниц), Руководство по безопасности продукции (20 страниц), Технические характеристики (2 страниц), Руководство по быстрой настройке (47 страниц), Краткое руководство по эксплуатации (29 страниц), Руководство по безопасности продукции (25 страниц), (Испанский) Guia De Web Connect Manual (38 страниц), (Испанский) Руководство (24 страниц), Руководство по безопасности продукции (на английском языке) (16 страниц), (Испанский) Руководство (11 страниц), (Английский) Руководство по быстрой настройке (47 страниц)
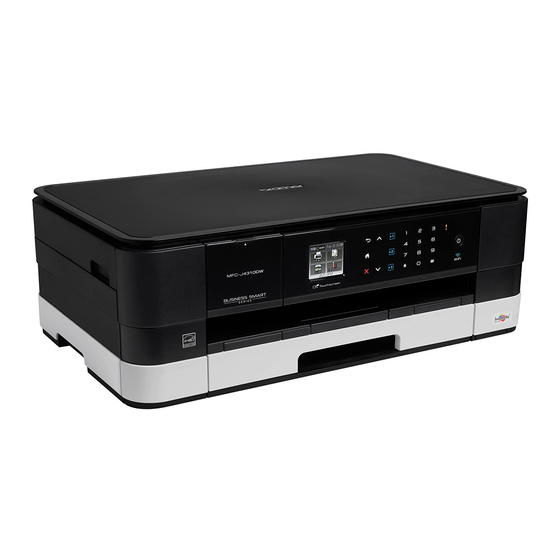
Brother Business Smart MFC-J4510dw Руководство по быстрой настройке
10

Set the date and time

The machine displays the date and time, and if you
set up the station ID, it will add it to each fax you send.
a
Press
.
b
00:00 01.01.2012
Press
Time).
c
Press Date.
d
Enter the last two digits of the year on the
Touchscreen, and then press OK.
(e.g. Enter 1 2 for 2012.)
e
Enter the two digits for the month on the
Touchscreen, and then press OK.
f
Enter the two digits for the day on the
Touchscreen, and then press OK.
g
Press Clock Type.
h
Press 12h Clock or 24h Clock.
i
Press Time.
j
Enter the time on the Touchscreen.
(12h Clock only)
Press
k
Press OK, and then press
10
(Date and
to cycle AM and PM.
.
11

Set your Station ID

You should store your name and fax number to be
printed on all fax pages that you send.
For details, see Entering Text in Appendix C of the
Basic User's Guide.
a
Press
.
b
Press All Settings.
c
Swipe up or down, or press a or b to display
Initial Setup.
Press Initial Setup.
d
Press Station ID.
e
Press Fax.
f
Enter your fax number (up to 20 digits) on the
Touchscreen, and then press OK.
g
Press Name.
h
Enter your name (up to 20 characters) using
the Touchscreen, and then press OK.
NOTE
• Press
to cycle between letters, numbers
and special characters. (The characters
available may differ depending on your
country.)
• If you entered a number or a character
incorrectly and want to change it, press d or c
to move the cursor to the incorrect one. Press
and then re-enter the correct one.
i
Press
.
NOTE
(USA only)
The Telephone Consumer Protection Act of 1991
makes it unlawful for any person to use a
computer or electronic device to send any
message via a telephone fax machine unless
such messages clearly contain, in a margin at the
top or bottom of each transmitted page, or on the
first page of the transmission, the date and time it
is sent and an identification of the business or
other entity or other individual sending the
message and the telephone number of the
sending machines or such business, other entity
or individual.