Brother Business Smart MFC-J4510dw Руководство по быстрой настройке - Страница 7

Просмотреть онлайн или скачать pdf Руководство по быстрой настройке для Сервер печати Brother Business Smart MFC-J4510dw. Brother Business Smart MFC-J4510dw 47 страниц. Quick setup guide - spanish
Также для Brother Business Smart MFC-J4510dw: Руководство (36 страниц), Руководство (22 страниц), Руководство по безопасности продукции (17 страниц), Руководство (13 страниц), Руководство (22 страниц), Руководство по быстрой настройке (47 страниц), Руководство (18 страниц), Руководство по быстрой настройке (47 страниц), Брошюра и технические характеристики (4 страниц), Руководство по безопасности продукции (20 страниц), Технические характеристики (2 страниц), Краткое руководство по эксплуатации (29 страниц), Руководство по безопасности продукции (25 страниц), (Испанский) Guia De Web Connect Manual (38 страниц), (Испанский) Руководство (24 страниц), Руководство по безопасности продукции (на английском языке) (16 страниц), (Испанский) Руководство (11 страниц), (Английский) Руководство по быстрой настройке (47 страниц)
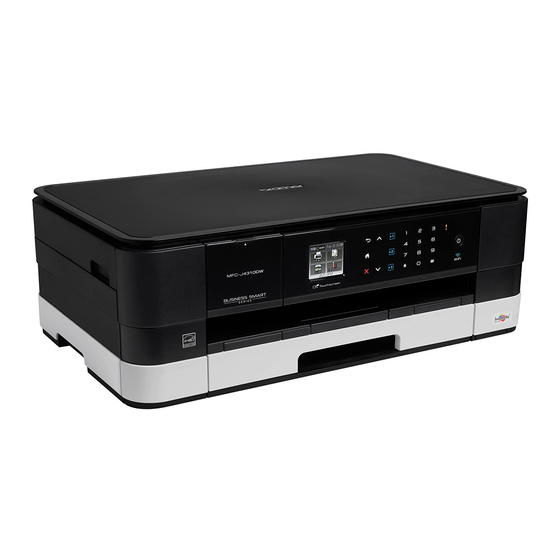
Brother Business Smart MFC-J4510dw Руководство по быстрой настройке
c
Remove the orange protective part a.
NOTE
Do not throw away the orange protective part.
You will need it if you transport the machine.
d
Unpack the ink cartridge.
Turn the green release lever on the orange
protective packing a counterclockwise until it
clicks to release the vacuum seal. Then
remove the orange protective packing a as
shown.
IMPORTANT
• DO NOT shake the ink cartridges. If ink stains
your skin or clothing, wash with soap or
detergent at once.
• DO NOT touch the cartridge in the area
indicated b, as this can cause the machine not
to function with the cartridge.
1
2
1
2
1
e
Take care to match the sticker colour a with
the cartridge colour b as shown in the diagram
below.
Install each ink cartridge in the direction of the
arrow on the label.
f
Gently push the back of the ink cartridge
marked "PUSH" until the cartridge lever lifts.
After all the ink cartridges are installed close
the ink cartridge cover.
IMPORTANT
After initial installation of the ink cartridges, the
machine will start cleaning the ink tube system.
This cleaning process will last approximately four
minutes.
DO NOT unplug the machine from the power
outlet or attempt to stop the cleaning process.
Interruption of cleaning process may cause
undesired print quality problems.
1
2
7