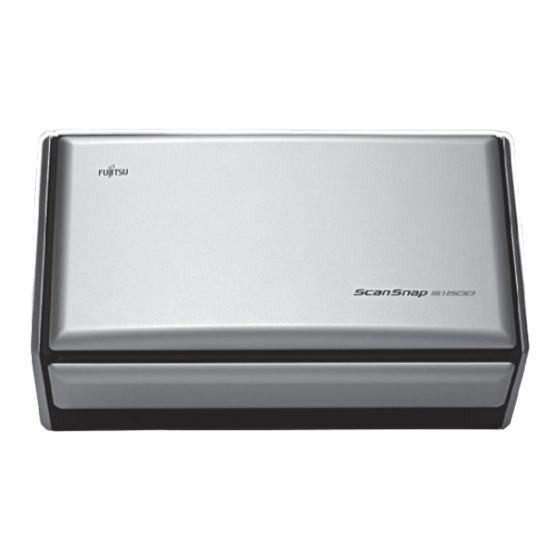
Fujitsu S1500M - ScanSnap - Document Scanner Руководство по началу работы - Страница 7
Просмотреть онлайн или скачать pdf Руководство по началу работы для Сканер Fujitsu S1500M - ScanSnap - Document Scanner. Fujitsu S1500M - ScanSnap - Document Scanner 9 страниц. Color image scanner
Также для Fujitsu S1500M - ScanSnap - Document Scanner: Руководство по началу работы (8 страниц), Технические характеристики (3 страниц), Меры предосторожности (9 страниц)

- 1. Getting Started
- 2. Checking the Components
- 3. Read the Safety Precautions
- 4. Symbols Used in this Manual
- 5. Removing the Protective Packaging
- 6. Installing the Software
- 7. Windows Installation
- 8. System Requirements
- 9. Mac os Installation
- 10. Connecting the Scansnap
- 11. Scan Test
- 12. Contact for Inquiries
6.
Check the ScanSnap Manager icon.
⇒
The ScanSnap Manager icon appears on the
taskbar.
®
In Windows
icon is displayed in the menu which
appears when you click
To have the ScanSnap Manager icon
always displayed on the taskbar, drag the
icon and drop it onto the taskbar.
⇒
The ScanSnap Manager icon appears in the
Dock.
Scan Test
For details on documents that can be scanned with the
ScanSnap and how to load documents, refer to
"ScanSnap Overview" in the Operator's Guide.
1.
Load the test documents into the
ScanSnap.
1. Pull the stacker on the ADF top section
towards you.
7, the ScanSnap Manager
on the taskbar.
Stacker
2. Prepare to load the document as follows.
Pull out the extension
Open the side
guides
Raise the
stacker
3. Load the test documents on the ADF paper
chute (cover), and adjust the side guides to
the size of the documents.
Set the documents
face-down and top-first
2.
Press the [Scan] button on the ScanSnap.
⇒
Scanning starts. The Quick Menu appears
when scanning is completed.
If scanning does not start, refer to
"Troubleshooting" in the ScanSnap
Manager Help.
7
