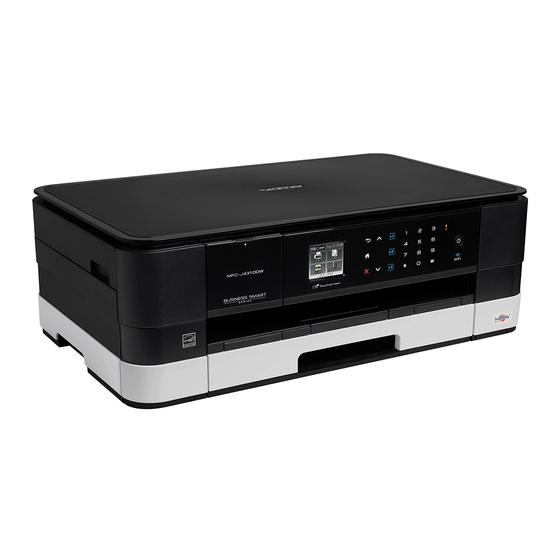
Brother MFC-J4610DW Руководство по быстрой настройке - Страница 5

Просмотреть онлайн или скачать pdf Руководство по быстрой настройке для Программное обеспечение Brother MFC-J4610DW. Brother MFC-J4610DW 45 страниц. Quick setup guide - spanish
Также для Brother MFC-J4610DW: Руководство по быстрой настройке (47 страниц), Руководство (36 страниц), Руководство (22 страниц), Руководство по безопасности продукции (17 страниц), Руководство (13 страниц), Руководство (13 страниц), Руководство по безопасности продукции (20 страниц), Краткое руководство по эксплуатации (29 страниц), Руководство по безопасности продукции (25 страниц), Начните здесь Руководство (47 страниц), (Испанский) Guia De Web Connect Manual (38 страниц), (Испанский) Руководство (24 страниц), Руководство по безопасности продукции (на английском языке) (16 страниц), (Испанский) Руководство (12 страниц), (Испанский) Руководство (11 страниц), (Английский) Руководство по быстрой настройке (47 страниц)

Brother MFC-J4610DW Руководство по быстрой настройке
d
Lift the scanner cover to release the lock a.
Gently push the scanner cover support
down b and close the scanner cover c using
both hands.
2
NOTE
If you are sharing one telephone line with an
external telephone, connect it as shown below.
a Extension telephone
b External telephone
Please make sure you use an external telephone
with a cable no more than 3 metres long.
NOTE
If you are sharing one telephone line with an
external telephone answering machine, connect it
as shown below.
Set the receive mode to External TAD if you
have an external answering machine. See
Choose a Receive Mode on page 8. Detailed
information uuBasic User's Guide: Connecting
an external TAD (telephone answering device)
1
3
1
2
4

Install the ink cartridges

CAUTION
If ink gets in your eyes, wash it out with water at
once and call a doctor if you are concerned.
NOTE
Make sure you install the Introductory Ink
Cartridges included with your machine first.
a
Make sure that the power is turned on.
The Touchscreen will show
No Ink Cartridge.
NOTE
You can adjust the angle of the control panel by
lifting it. When lowering the control panel, make
sure you push the release button a that is
located behind the mark.
b
Open the ink cartridge cover a.
1
1
5