Indesit CAA 55 NF x UK.1 Руководство по эксплуатации - Страница 4
Просмотреть онлайн или скачать pdf Руководство по эксплуатации для Холодильник Indesit CAA 55 NF x UK.1. Indesit CAA 55 NF x UK.1 12 страниц. Refrigerator/freezer combination
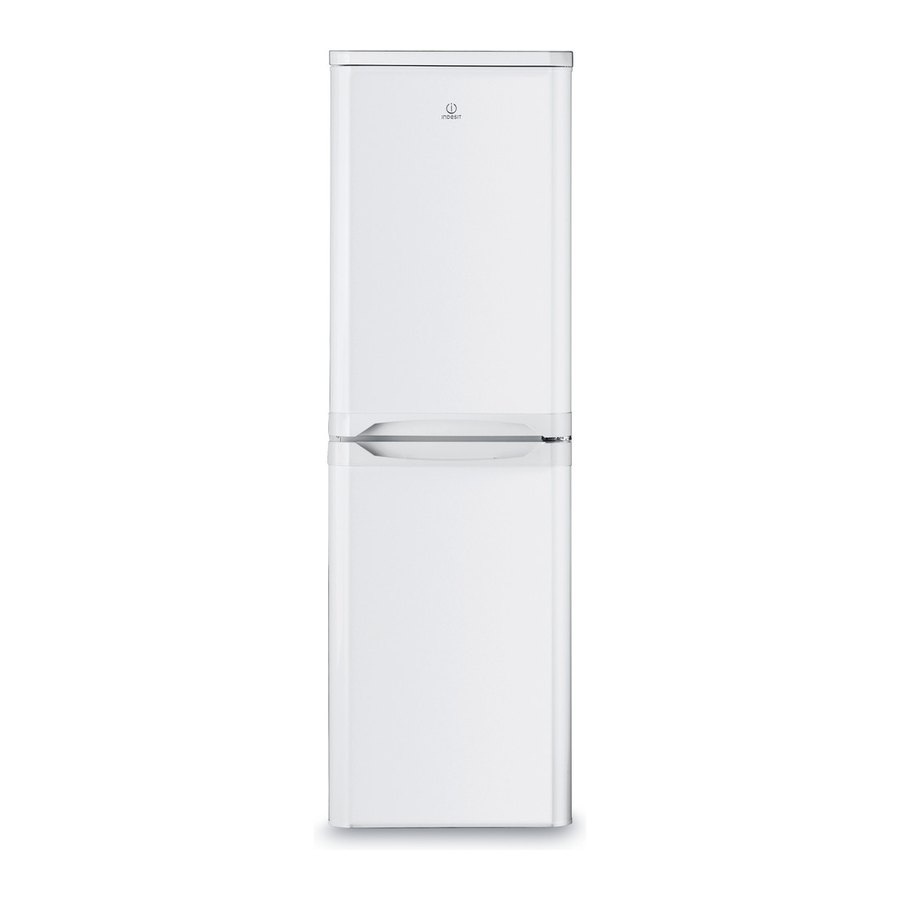
DOOR REVERSAL
GB
Warning: Before attempting to remove the doors, switch off the electrical supply and pull out the mains plug.
It is recommended that you remove any loose items/fittings from inside the appliance and place food into insulated
containers whilst carrying out this operation.
You may require assistance to carefully lay the appliance onto its back onto suitable protective materials (i.e. original
packaging).
Remove the doors
1. Lay down the appliance on its back.
2. Unscrew, remove and retain the bottom hinge.
3. Slightly open the bottom door and slide downward remove and carefully place to one side
4. Remove centre hinge and
spacer if fitted. Slightly
open the top door and slide
downwards, remove and
carefully place to one side.
5. The pin will be removed
and fixed to the opposite
side.
6. Use a thin blunt instrument
to remove the top and
bottom hinge bushes and
blanking plugs from the
doors, take care not to
mark the door handle.
Reposition the blanking
plugs and bushes on the
opposite side.
7. Fit the blanking plugs
provided into the right hand
two centre hinge holes.
8. Before changing hinge
place from right side to left side, screw on left side panel should be disassemblied and after changing hinge place,
screw should be assemblied on right side panel.
Replacing the doors
1. Slide the top door upwards and locate the top hinge pin into the door bush. Reposition the centre hinge on the
opposite side.
2. Carefully slide bottom door upward
into the centre hinge pin.
3. Unscrew the bottom hinge pin and
refit it on the opposite side..
4. Fit the bottom hinge making sure that
the door is aligned to the cabinet.
5. Carefully stand the appliance upright
in it's required location and make
sure it is sitting level on the floor.
Open and close the doors checking
that the gasket makes a good seal
without any gaps when the doors are
closed.
Note: Replace loose items/fittings back
into the appliance and leave for at least
15 minutes before switching back on.
4
1
2
3