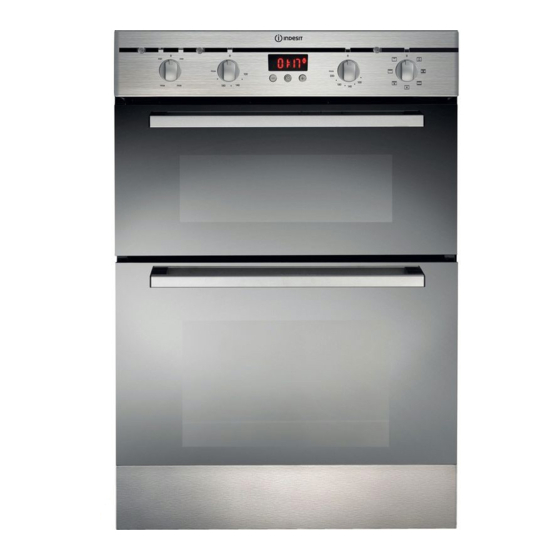
Indesit FID20WH Инструкция по установке и использованию - Страница 33
Просмотреть онлайн или скачать pdf Инструкция по установке и использованию для Печь Indesit FID20WH. Indesit FID20WH 40 страниц. Indesit double oven user manual

Installation
Electrical Requirements
For your own safety, we recommend that your cooker
is installed by a competent person such as one who
is registered with NICEIC (National Inspection
Council for Electrical Installation Contracting). The
cooker should be installed in accordance with the
latest edition of the IEE Regulations.
Warning: This appliance must be earthed.
Electrical Connections
The installer must check that the voltage shown on
the rating plate corresponds with the house
electricity supply. The cooker must be supplied via
a suitable double pole isolating switch, having a
contact separation of at least 3mm in all poles
placed in a readily accessible position adjacent to
the cooker. If the cooker is to be wired into a
connector unit, this may be positioned behind the
cooker providing the following requirements are met:
i) The connector unit must not project from the wall
more than 25mm.
ii) The top of the connector must not be more than
130mm above floor level.
Remove the terminal cover at the rear base of the
cooker. Pass the cable through the cable clamp and
connect to the appropriate terminals provided.
Allow sufficient cable for any future servicing.
Tighten the screws on the cable clamp and replace
the cover. Make main connections in the connector
unit or cooker control unit. This appliance conforms
to B.S. EN 55014 regarding suppression of Radio
and Television reception interference.
A double Pole control switch having a minimum
rating of 32 amps should be used to feed the cooker
using a suitably rated cable. Where a hob is fitted
adjacent to or over the cooker, a 45 amp Double
Pole control switch should be used to feed both
units via separate suitably rated cables.
We recommend a minimum of 4mm2 PVC insulated
twin and earth cable conforming to B.S. 6004 for
connection of each appliance.
In all cases adhere to routing details (see fig. 4).
This appliance must not be installed over any other
appliance that generates heat such as a plinth
heater.
Note: Due to many different types of installation,
a mains cable is not supplied with this product.
The installer will fit the correct type and length of
cable.
Important
It is essential that the lower cupboard is constructed in
the manner illustrated i.e. having side, back, and roof
panels so joined as to provide no apertures which
could permit access to the oven unit when installed.
1. General
The appliance is designed for mounting at a safe
level into an oven housing which must be secured to
the backing wall.
2. Ventilation
a. The oven housing unit cabinet dimensions must
comply with fig. 4.
b. An air gap of 50mm minimum must be provided at
the rear of any top or bottom cupboards or shelves
(see fig. 1).
c. It is necessary that the cabinets are provided with
unobstructed ventilation, i.e. from adjacent
cabinetry. This can be done by either raising the
base of the cabinets using the adjusting feet (or
spacers) or alternatively by providing a slot in the
cabinet plinth to the dimensions in fig. 1.
d. The air gap at rear allows the warmed air to pass out
of the inner cabinet space. Where it is intended to fit
cupboards above the oven unit to ceiling height, it is
essential that the warmed air is exhausted through
the front of the cabinet (see fig. 1).
e. If an oven unit is installed adjacent to a tall cabinet,
steam escaping from the oven when the door is
opened could condense on and maybe stain the
adjacent surface. To prevent permanent staining, the
adjacent surface should be made of a material that is
heat resisting and easy to clean. Adjacent tall cabinets
should not be deeper than the oven housing cabinet.
3. Final Installation
a. Using a spirit level, check that the housing cabinet
is level from side to side and from front to back in
its installed position.
b. Correct any unevenness by placing spacers under
the bottom of the cabinet. Make sure that the cabinet
rests firmly on the floor without rocking.
c. Before the oven is fitted, the cabinet must be firmly
secured to the backing wall for stability.
d. The oven unit should now be lifted (this is a two
person lift) into the cabinet and pushed fully home.
e. Finally, the oven is secured to the cabinet by means
of the four Phillips C/SK Head screws - two through
each side trim.
f. Remove all packaging material from the grill and
oven interior.
List of loose items:
4 x Phillips C/SK Head No. 6 x 25mm screws.
GB
33
