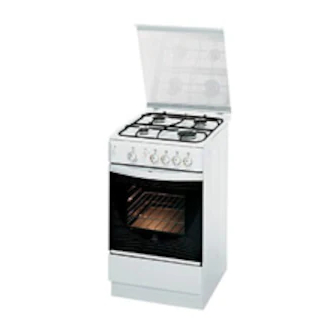
Indesit K 340 G/G Инструкция по установке и использованию - Страница 11
Просмотреть онлайн или скачать pdf Инструкция по установке и использованию для Плиты Indesit K 340 G/G. Indesit K 340 G/G 16 страниц. Indesit cooker with gas oven & gas grill instruction for installation & use

the hob of the cooker (as indicated in figure).
Always turn off the gas and allow the burners to cool before
closing the cover. Failure to follow these instructions may
cause the glass cover to shatter. Keep the cover open
when using the oven.
Attention: before using the oven and grill for the first time, turn
the oven on for approximately one half hour. Make sure that the
oven is empty, the thermostat on high, the door open, and the
room properly ventilated. The odor which can be detected at
times is due to the evaporation off the substances used to protect
the oven and the grill during the period between the time of
production and installation of the appliance.
Attention: Only use the bottom shelf of the oven when using
the rotisserie to cook (where present). For all other types of
cooking, never use the bottom shelf and never place anything
on the bottom of the oven when it is in operation because this
could damage the enamel. Always place your cookware (dishes,
aluminium foil, etc. etc.) on the grate provided with the appliance
inserted especially along the oven guides.
Oven and Grill Control Knob (M)
This knob allows you to select the various features of the oven
and to set the most appropriate cooking temperature from among
those indicated on the knob itself (between Min and Max).
To light the oven burner, hold a lighted match or lighter near the
"F" hole and, at the same time, press down and turn the oven
knob counter-clockwise to the Max setting.
Since the cooker is equipped with a safety device which
makes it necessary to keep the knob pressed in for about 6
seconds after the burner has been lighted to allow the gas
to pass through freely.
The cooking temperature is selected by matching the desired
temperature with the reference mark on the panel; the complete
range of temperatures is shown below.
The temperature setting is then automatically reached and kept
constant by the thermostat (which is controlled by the knob).
To use the grill, turn the knob clockwise till to setting
after holding a lighted match or a lighter close to the grill burner.
In the grill burner equipped with a safety device, the knob
must be held pressed in for about 6 seconds in order to
activate the flame failure device. In this way the infrared ray
comes on for browning the food or cooking roast, chops,
sausages, roast-beef, etc.; for grill cooking, place a drip-pan under
the grill to catch the grease.
Important Notice: In the event the flame for the oven acciden-
tally goes out, turn the control knob for the burner to the off
position and do not relight the burner for at least one minute.
Important: when using the grill, the oven door must be
left partly open by positioning the deflector "D" between
door and panel to prevent the cooker knobs from
overheating.
Attention
Avoid the children touch the oven door because it is very hot
during the cooking.
WARNING
To remove the sliding protection "A", unscrew screw "S".
When you have finished, replace the protection and lock
it in place with screw "S".
Before using the oven, make sure the sliding protection
"A" is fastened in the correct position.
F
Oven Light Button (O)
This button is marked by the
light inside the oven so that you can monitor the cooking proc-
ess without opening the door.
11
Min
•
150
•
140
145
160
A
180
•
220
Max
200
250
D
S
symbol and switches on the
,
