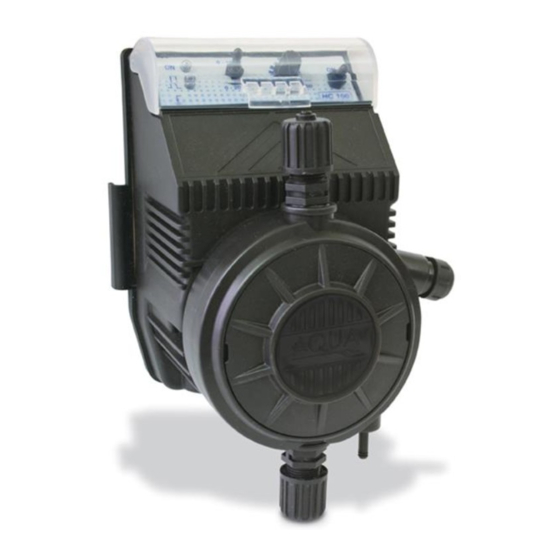
Aqua HC 100 Руководство по эксплуатации и техническому обслуживанию - Страница 9
Просмотреть онлайн или скачать pdf Руководство по эксплуатации и техническому обслуживанию для Водяной насос Aqua HC 100. Aqua HC 100 19 страниц.
Также для Aqua HC 100: Руководство по эксплуатации и техническому обслуживанию (20 страниц)

ENGLISH
strongly recommend operating it for at least 30 minutes with the foot filter
immersed in clean water to flush the pump.
3.3 Basic maintenance procedures
Before doing any maintenance read with attention the technical and safety characteristic of the
dosing chemicals and follow the next procedures:
1 Turn off the pump and immerse the foot filter and the injection tube in clean water. Turn on the
pump to let the water go through the pump head. If there are some crystals to be cleaned follow
the next procedures:
2 Immerse the foot filter and the injection tube into an adequate solution to remove the crystals
(ex. Chloridric Acid for Sodium Hipochlorite crystals); let the pump work for some minute. Then
repeat the action with water and connect the pump to the plant.
ATTENTION!!!!!
It's necessary to effectuate all the operations with gloves and glasses
suitable for the product used then consult the supplier of the chemical
product.
3.4 Replacing worn parts
Fuse replacement.
Proceed as follows:
1. Put at minimum the knob of the piston regulation of the run (in the pump where it is present)
2. Unscrew the fixing screws of the box
3. Open the front and the back part of the box minding the spring of the knob where it is present.
4. Replace the fuse that is well visible.
5. Assemble all the parts paying attention that the piston regulation knob (where it is present) is at
the minimum position and that the spring is in .
Valves replacement
NB: Where ball valves are to be replaced, it is recommended that the complete cartridge
assembly is replaced, due to the many small parts within.
The procedure is as follows;
1. Using a 19 mm spanner gently remove the cartridge.
2. If a ball valve cartridge is fitted remove the whole assembly and replace with a new one taking
care to ensure that the arrow is pointing in the direction of flow, (vertically upwards).
3. If lip valves are fitted, these can be replaced, once again ensuring that they are refitted the
correct way up, with their open end downwards, and the lip part in the direction of flow.
4. Refit the nipples and hose clamps to complete.
Diaphragm and O-rings replacement
Proceed as follows:
1. Undo the 4 bolts with an hexagonal key.
2. Remove the pump head.
3. Remove the old O-ring from the head carefully using a small screw driver.
Cod. ADSP7000177C Rev.0.0 (12/2020)
8
