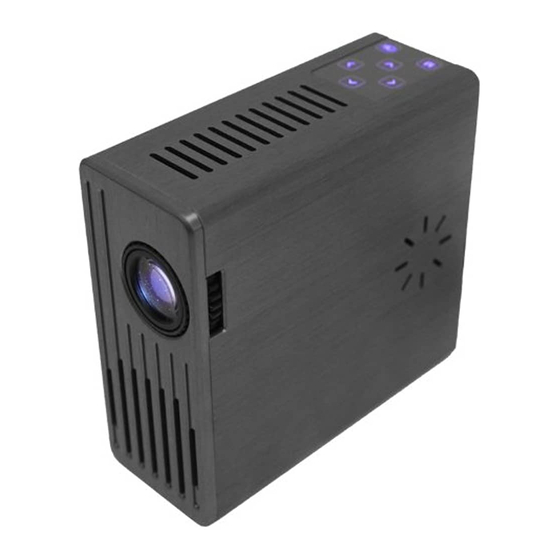
AAXA Technologies M1 Standard Руководство пользователя - Страница 9
Просмотреть онлайн или скачать pdf Руководство пользователя для Проектор AAXA Technologies M1 Standard. AAXA Technologies M1 Standard 18 страниц.
Также для AAXA Technologies M1 Standard: Руководство пользователя (17 страниц), Руководство пользователя (16 страниц), Технические характеристики (2 страниц), Технические характеристики (2 страниц)

General Operation
Connecting to a VGA / Computer input
The projector can accept a 15-pin RGB input
source from a laptop's external monitor port
or graphics card. This source is connected
through the 15-pin "VGA" port on the back
of the projector.
To connect a VGA cable, plug the VGA cable into
the back of the projector. Then select the "VGA PC" option in the Main Menu.
This will enable the projector to receive VGA signals.
Important: Be sure to setup the computer to enable video signal output. If
using the M1 as an external monitor on Windows based systems, this can be
done by selecting "extend my desktop to this monitor. " Note: Each computer
system is different – please check with your owner's manual for how to
properly output video signals. Some Apple computers may require a DVI to
VGA adapter.
Accepted Display Resolutions:
Connecting an Audio/Video input source - The Projector can accept differ-
ent A/V (Audio/Video) sources through the A/V port. These sources are
connected through a 3.5mm A/V cable.
Max Supported Resolutions:
NTSC: 720x480
PAL: 720x576
800x600 (native / optimal)
1024x720
1280x800
8
