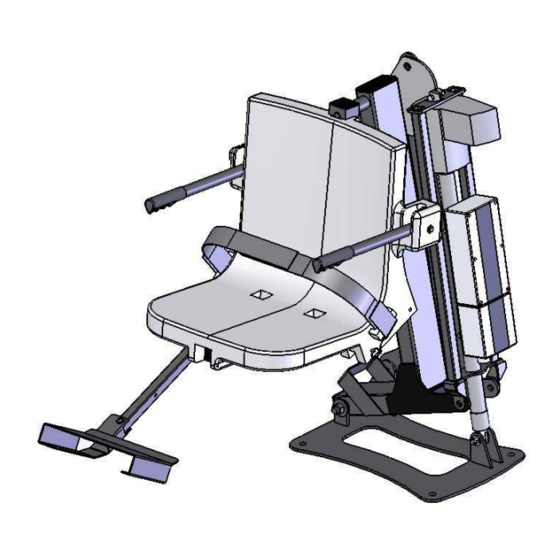
Aqua Creek Products PRO POOL LIFT F-004PLB-R Руководство по установке и эксплуатации - Страница 3
Просмотреть онлайн или скачать pdf Руководство по установке и эксплуатации для Подъемные системы Aqua Creek Products PRO POOL LIFT F-004PLB-R. Aqua Creek Products PRO POOL LIFT F-004PLB-R 17 страниц. 450 lb. (204kg) maximum capacity

PRO POOL LIFT: 4 –POINT ANCHOR INSTALLATION
NOTE: THE PRO POOL LIFT ANCHOR CAN BE INSTALLED IN EITHER A
NEW POOL DECK OR AN EXISTING DECK.
RETRO-FIT INSTALLATION / EXISTING DECK APPLICATION
TOOLS REQUIRED:
MARKING PEN/PENCIL
2" CORE DRILL BIT
POWER DRILL
1. Locate the anchor jig and the FOUR (4) anchor bolts. FIGURE 1
2. Using the anchor jig plate smaller holes as a template, mark the FOUR
(4) hole locations on the deck. The front anchor must be no more than
14 inches [356mm] from the pool wall. FIGURE 3. Make sure to keep
the two rear anchor holes parallel to the pool wall.
3. Remove the 1" hex nuts from the anchor bolts. Core Drill a 1-1/4"
[32mm] diameter hole at the FOUR (4) locations marked from step 1.
Drill to a depth of 4" to 5" [10cm to 13cm].
4. Remove the core from the hole with a chisel and hammer if necessary.
Clean out all four holes completely.
5. Fill each hole approximately ½ full with high strength anchor adhesive.*
6. Ground at least one anchor bolt to an existing bonding grid or
appropriate ground source per local codes.
7. Install the FOUR (4) anchor bolts into the epoxy filled holes. Make sure
that the top of the bolts will be flush with the top of the pool deck.
(NOTE: To make positioning of the anchors easier the ½" bolts may be
temporarily installed in the anchors to give you something to hold onto.)
8. Let the adhesive cure as per the manufacturer's instructions before
installing the PRO POOL LIFT
* Use HILTI HIT HY-150 or SIMPSON ET22 StrongTie anchor adhesive
or equivalent.
NEW CONSTRUCTION: ANCHOR INSTALLATION
When the lift is installed on a new deck, the slab should be a minimum of 6" [15cm] thick at the
lift location, and should be reinforced with #4 reinforcing bar at 10" [25.4cm] on center in each
direction. The total pad area should be 3 feet [92cm] wide (from the edge of the pool back) by 3
feet [92cm] long.
1. Locate the preset anchor jig assembly and the four (4) anchor bolts. Mount the anchor
bolts to the jig plate as shown in FIGURE 2.
2. Ground the jig plate using the attached bronze grounding lug. Check local codes for
anchor grounding.
3. Locate the jig assembly at the desired pool location. The front anchor (centerline)
must be no more than 14" [35.6cm] from the pool wall as shown in FIGURE 3.
Make sure to keep the front two anchor holes parallel to the pool wall.
4. Make sure the anchor assembly is plumb and level – secure the anchors, and then
pour the deck.
Compliments of www.poolsandstuff.com
LEVEL
HIGH STRENGTH ANCHOR ADHESIVE*
HAMMER & CHISEL
.
TM
FIGURE 1
(ANCHOR BOLT,
HEX NUTS
REMOVED)
3
