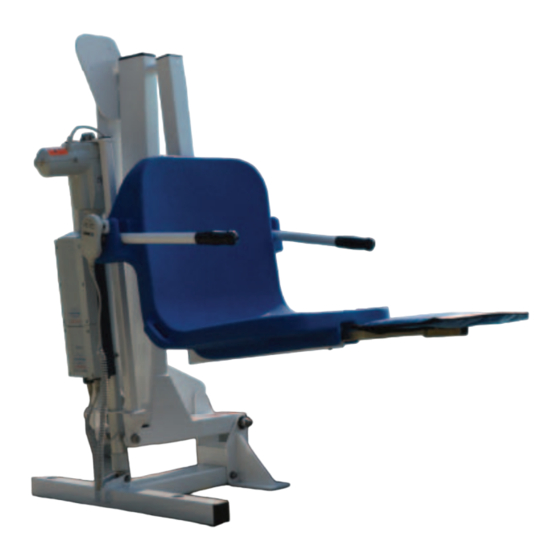
Aqua Creek Products Pro Pool-XR Deep Draft Руководство - Страница 6
Просмотреть онлайн или скачать pdf Руководство для Подъемные системы Aqua Creek Products Pro Pool-XR Deep Draft. Aqua Creek Products Pro Pool-XR Deep Draft 18 страниц. Pool lift without anchor

a. NOTE: It is recommended to apply tape to the bottom of the anchor plate
around the holes so when the epoxy oozes out of the holes it does not
secure the anchor plate to the pool deck.
7. Allow for a way to bond at least one of the anchor inserts according to your local code
requirements. This is typically accomplished with 8-AWG solid-copper wire attached to the
pool's bonding grid. For more information reference NEC Article 680.26.
8. Before putting epoxy into the holes and setting the anchor inserts, test fit the anchor inserts in
the pre-drilled holes first to make sure they line up properly. Pick up the anchor plate with the
three (3) anchor bolts attached to the underside and carefully place them into the three holes
drilled in the deck. Using a torpedo level on the plate, verify the anchor system is level. If they
do not line up you may have to enlarge your holes.
9. After verifying the anchor inserts line up with the holes properly and the anchor assembly is
level, remove the anchor assembly and fill each hole in the pool deck at least half full of two
part construction epoxy (not included). Aqua Creek recommends either Hilti™ Brand RE-500-SD or
an alternative approved adhesive.
10. Pick up the anchor assembly with the three (3) anchor bolts attached to the underside and
carefully place them into the holes drilled in the deck. When placing the anchor bolts attached
to the anchor plate, wiggle the jig-plate assembly a little to make sure the epoxy gets on all
sides of the anchor bolts.
11. Once the anchor bolts are placed into the holes, use a small torpedo level on the anchor plate to
make sure they are level and perpendicular.
*MIN AND MAX
SETBACK DISTANCES
ARE FOR TYPICAL
FLAT POOL DECK
APPLICATIONS. POOLS
WITH A RAISED CURB
OR IN GROUND SPAS
WITH BENCHES CAN
VARY. CHECK WITH
AQUA CREEK FOR
PROPER SETBACK
DISTANCES AND
ANCHOR LOCATIONS.
LIFT OUTLINE
FIGURE 4
Copyright © 2015 Aqua Creek Products All Rights Reserved
*22 1/2" TO 38"
SETBACK
(4 3/4" MIN TO
17 3/4"
20 1/4" MAX SETBACK)
10"
CORE DRILL
4-1/2" DEEP, 3 PLACES
10"
USE JIG-PLATE
(LARGER HOLES)
USE JIG-PLATE
TO MARK LOCATIONS
ASSEMBLY FOR
TEST-FITTING AND
TO HOLD ANCHORS
IN PLACE AS EPOXY
CURES
12. Allow the epoxy to set up
1-1/2"
POOL WALL (OR
FURTHEST
OBSTRUCTION)
according to the manufacturer's
recommendations and remove
the hardware and the anchor
jig-plate. The lift can now safely
mount to the anchors using the
same hardware used to mount the
anchor inserts to the underside of
the anchor jig-plate. The anchor
jig-plate can be recycled or used
for installing a second set of
anchors in another location.
Revised 12/3/15
6
