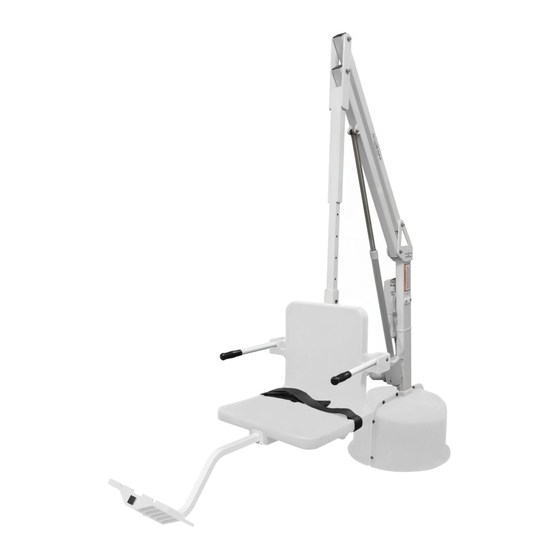
Aqua Creek Products Revolution F-702RLNA-03 Руководство - Страница 9
Просмотреть онлайн или скачать pdf Руководство для Подъемные системы Aqua Creek Products Revolution F-702RLNA-03. Aqua Creek Products Revolution F-702RLNA-03 14 страниц.

STEP 6: INSTALL THE FOOTREST
Locate the FOOTREST ASSEMBLY and install it on the
seat as shown below. Slide the footrest tube into the
square tube that supports the seat until the plastic
sleeve of the footrest sits fl ush with the face of the
square tube. The threaded hole of the plastic sleeve
should align perfectly with the hole in the bottom of
the square tube. Install the 1/4" button head, lock
washer and fl at washer through the bottom of the
square tube and up into the plastic sleeve.
STEP 6
SEAT
ASSEMBLY
PLASTIC
SLEEVE
FOOTREST
TUBE
(ADJUSTABLE)
Not Seated
Copyright © 2019 Aqua Creek Products All Rights Reserved
Revolution Assembly Instructions
1/4" FLAT WASHER
1/4" LOCK WASHER
1/4" X 1/2" BUTTON
HEAD BOLT
STEP 7: INSTALL 24V BATTERY & HANDSET
Locate the 24V battery, the battery charging unit
and the handset control. Charge the battery for 24
hours then install it on the bracket above the control
box as shown on PHOTO 7. Plug the handset control
into the control box as shown in the fi gure and in
the photos below. Press fi rmly to make sure the plug
is fully seated as shown below.
THE LIFT WILL NOT FUNCTION IF THE HANDSET
PLUG IS NOT FULLY SEATED OR IF THE BATTERY IS
NOT PROPERLY ALIGNED.
With the lift completely assembled, run the lift fully
out and back in 3-5 times, without weight, for the
lifts "break in" cycle period.
HANDSET
CONTROL
24V
BATTERY
CONTROL
BOX
Seated
STEP 7
9
Revised 6/19/19
