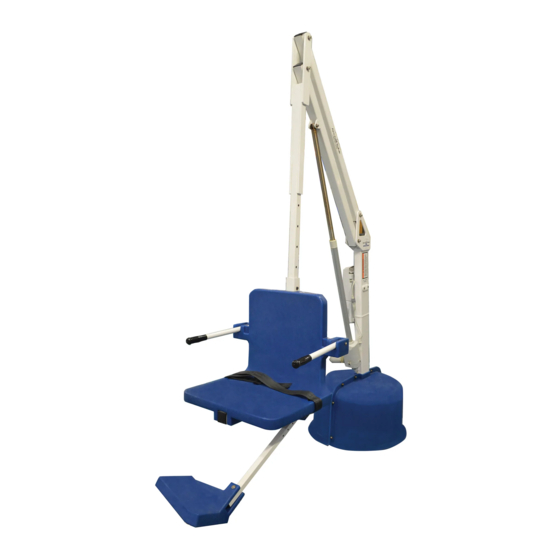
Aqua Creek Products REVOLUTION F-702RLNA-SPA-G Руководство - Страница 7
Просмотреть онлайн или скачать pdf Руководство для Помощь в передвижении Aqua Creek Products REVOLUTION F-702RLNA-SPA-G. Aqua Creek Products REVOLUTION F-702RLNA-SPA-G 14 страниц. Spa lift
Также для Aqua Creek Products REVOLUTION F-702RLNA-SPA-G: Руководство (18 страниц)

STEP 2: INSTALL LIFTING ARM
Locate the LIFTING ARM and the following hardware:
• (1) 1/2" x 2-3/4" SHOULDER BOLT
• (1) 3/8" x 2" SHOULDER BOLT
• (1) 5/16" FLAT WASHER
• (1) 5/16" NYLOCK NUT
• (1) 3/8" FLAT WASHER
• (1) 3/8" NYLOCK NUT
Remove the shipping strap and all packing from
the LINEAR ACTUATOR. Connect the LIFTING ARM
between the MAST and the LINEAR ACTUATOR as
shown in the fi gure below. Make sure the end marked
"B" attaches to the mast. Tighten NYLOCK NUTS (2)
until snug as shown in PHOTO 2.
DO NOT OVERTIGHTEN!
3/8" FLAT
WASHER
3/8" NYLOCK
NUT
Copyright © 2020 Aqua Creek Products All Rights Reserved
Revolution Spa Assembly Instructions
1/2" X 2 3/4"
SHOULDER BOLT
5/16" NYLOCK NUT
5/16" FLAT WASHER
ACTUATOR
STEP 2
STEP 3: INSTALL CONTROL ARM
Locate the CONTROL ARM and the following
hardware:
• (1) 1/2" x 2-3/4" SHOULDER BOLT
• (1) 3/8" FLAT WASHER
• (1) 3/8" NYLOCK NUT
Install the CONTROL ARM (end marked "A") onto
the MAST as shown in the fi gure below. Tighten the
NYLOCK NUT until snug as shown in PHOTO 3. DO
NOT OVERTIGHTEN!
3/8" FLAT WASHER
3/8" NYLOCK NUT
3/8" X 2"
SHOULDER
BOLT
LIFTING
ARM
1/2" X 2 3/4"
SHOULDER BOLT
CONTROL
ARM
STEP 3
Revised 6/25/20
7
