BilJax Multi-Stage AS-2100 Инструкция по сборке Руководство - Страница 2
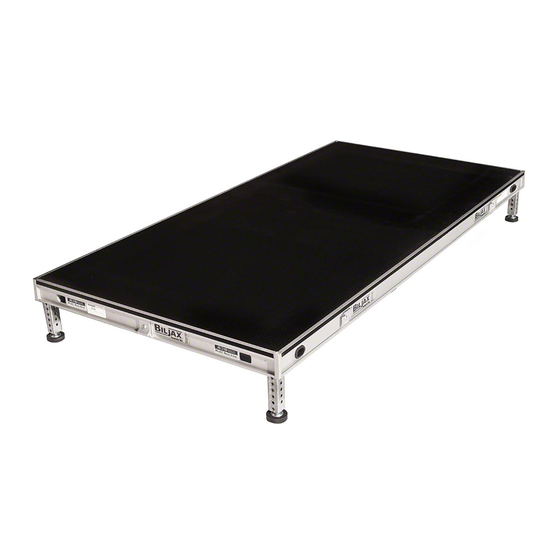
Просмотреть онлайн или скачать pdf Инструкция по сборке Руководство для Наружная отделка BilJax Multi-Stage AS-2100. BilJax Multi-Stage AS-2100 8 страниц. Deck surface
Также для BilJax Multi-Stage AS-2100: Как заменить (9 страниц)
Step 1
Site Preparation
A. Determine the exact location where the stage will be erected.
B. For outdoor stages, mudsills are required to distribute the weight
(125 PSF to 150 PSF) on the stage legs. This will prevent the legs
from sinking and ease the leveling of the stage.
C. All base pads and mudsills should be placed only on a horizontal
surface.
Step 2
Leg Assembly
Attach an adjustable rubber base pad to each galvanized leg using a 2" snap
pin.
Step 3
Setting the Stage
A. Insert legs completely into all four corner sockets (and into
intermediate sockets, when required) of the first stage section.
B. See Table on Page 8 for rated loads of all stage configurations.
WARNING
Failure to properly install stage legs will result in
serious injury or death.
C. Tighten the leg socket clip (image at right) at each corner socket
where a stage leg is installed.
The leg sockets on the stage sections fit 1-3/4" sq. stage legs. Use one of
the following only:
a) 1-3/4" telescoping stage legs. Overlap telescoping section a minimum of
6" and secure with a 2" snap pin as shown at left.
b) 1-3/4" non-telescoping stage legs.
c) 1-1/2" sq. non-telescoping stage legs with a 1-3/4" sleeve. Overlap sleeve
a minimum of 6" and secure with a 2" snap pin as shown at left.
TO INSTALL STAGE LEGS:
Pull and hold pin in the unlocked position.
Insert leg. IMPORTANT: Pin is not a load-bearing
member. Leg must be FULLY INSERTED so that it
touches the bottom of stage deck.
Release pin to lock leg in place.
2