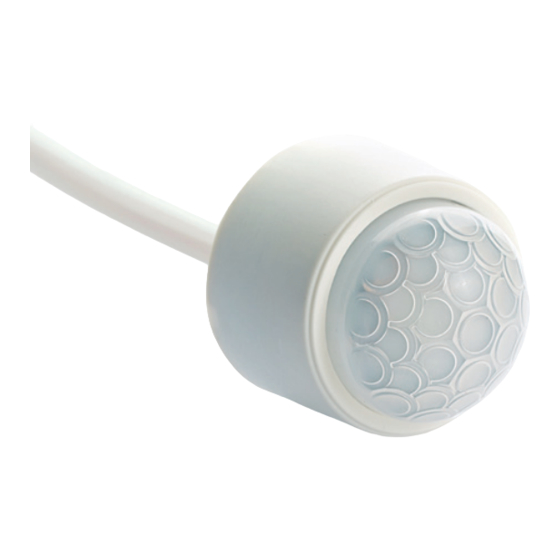
CP Electronics EBMHS-AD-SA-C Руководство по установке - Страница 8
Просмотреть онлайн или скачать pdf Руководство по установке для Датчики безопасности CP Electronics EBMHS-AD-SA-C. CP Electronics EBMHS-AD-SA-C 16 страниц. 1–10v analogue dimming, miniature, ceiling, pir presence/absence detectors
Также для CP Electronics EBMHS-AD-SA-C: Краткое руководство по эксплуатации (12 страниц)

8
Create cut out | Erstellen Sie einen Ausschnitt | Orificio de corte | Fixação no teto | Percer |
Creare il foro | Sparing maken
Ø 32mm
Install detector | Melder installieren | Instalación del detector | Instalaçao do detector | Installer le détecteur |
Installazione del sensore | Installeer detector
Default Settings | Werkseinstellung | Parámetros por defecto | Configurações por omissão |
Paramètres par défaut | Impostazioni predefinite | Standaard instellingen
EN
Time out: 20 minutes.
LUX on level: 9
LUX off level: 9
Sensitivity: 9
Detection: Presence
Adjustments can be made using the
optional UHS5 or UNLCDHS handsets.
DE
Nachlaufzeit: 20 Minuten
LUX Einschaltschwelle: 9
Lux Ausschaltschwelle: 9
Empfindlichkeit: 9
Betriebsart: Automatikbetrieb
Einstellungsänderungen können mit den
Ferbedienungen UHS 5 oder UNLCD HS
vorgenommen werden.
ES
Tiempo retardo hasta apagado: 20
minutos
Nivel Lux Encendido: 9
Nivel Lux Apagado: 9
Sensibilidad: 9
Detección: Presencia
Los ajustes se pueden hacer usando los
mandos UHS5 y UNLCDHS
EN
Cut a 32mm diameter
hole in the ceiling.
DE
Deckenausschnitt
32mm.
ES
Cortar un orificio de 32
mm de diámetro en el techo
EN
Bend the retention arms up and push
the detector through hole in ceiling. Once
inserted the arms snap back to hold the device
in place.
DE
Biegen Sie die Arretierdorne nach
oben und drücken Sie den Detektor durch die
Öffnung in der Decke. Nach dem Einsetzen
schnappen die Arretierdorne zurück und halten
das Gerät in Position.
ES
Flexione hacia arriba las abrazaderas
e inserte el detector a través del orificio en
el techo. Una vez insertado, vuelva a poner
las abrazaderas en su sitio para retener el
dispositivo.
PT
Dobre os braços de retenção para cima
e prima o detetor através do orifício no teto.
Assim que os braços estiverem inseridos, volte
a encaixar o dispositivo no lugar.
PT
Tempo limite: 20 minutos.
LUX on nível: 9
LUX off : 9
Sensibilidade: 9
Detecção: Presença
Os ajustes podem ser efectuados usando
os telecomandos opcionais UHS5 ou
UNLCDHS.
FR
Temporisation: 20 minutes
Seuil de luminosité pour
activation PIR: 9
Seuil de luminosité pour
désactivation PIR: 9
Sensibilité: 9
Détection: Présence
Toutes modifications peuvent être faites en
utilisant les outils de configuration UHS5 ou
UNLCDHS.
PT
Efectuar um corte de
diâmetro de 32mm no teto.
FR
Percer un trou de
32mm de diamètre dans le
plafond
FR
Plier les bras de rétention vers le haut et
enfoncer le détecteur dans l'orifice au plafond.
Une fois insérés, les bras reprennent leur
position pour maintenir le dispositif en place.
IT
Piegare i bracci di ritenzione verso
l' a lto e spingere il rilevatore attraverso il foro
nel soffitto. Una volta inseriti i bracci, farli
scattare indietro per trattenere il dispositivo in
posizione.
NL
Buig de bevestigingsarmen omhoog
en duw de detector door het gat in het plafond.
Hierna klikt u de armen terug om het apparaat
op zijn plaats te houden.
IT
Le regolazioni possono anche essere
effettuate utilizzando l'opzionale
telecomando UHS5 o UNLCDHS.
NL
Aanpassingen kunnen worden uitgevoerd
met de optionele UHS5- of UNLCDHS-
handset.
IT
Realizzare un foro di
32mm di diametro a soffitto.
NL
Maak een 32mm
diameter sparing in het
plafond.
Time out: 20 minuti.
Livello accensione LUX: 9
Livello spegnimento LUX: 9
Sensibilità : 9
Rilevamento : Presenza
Uitschakeltijd: 20 minuten
Lichtdrempel aan niveau: 9
Lichtdrempel uit niveau: 9
Gevoeligheid: 9
Detectie: aanwezigheid
