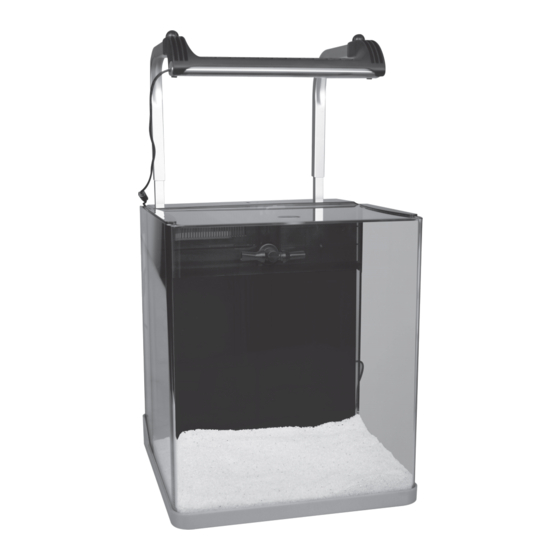
Aqua One AquaNano 36 Руководство - Страница 6
Просмотреть онлайн или скачать pdf Руководство для Аквариумы Aqua One AquaNano 36. Aqua One AquaNano 36 10 страниц.

Set Up Instructions
Refer to previous page for location of filter
components.
1. Consider where you are going to place the
aquarium. Keep it away from direct light or
areas with large temperature fluctuations.
2. Place the aquarium on a flat level surface
strong enough to support its weight. We
recommend a genuine aquarium cabinet (sold
separately) rather than general household
furniture. Ensure there is sufficient access to
the rear of the aquarium in case adjustments
need to be made to the light unit.
3. This aquarium comes assembled but it
is important to ensure all connections are
firmly fitted and have not come loose during
transportation.
4. Remove the filter from the aquarium. The
filter will slide vertically out of the aquarium
and this will allow access to pump and
plumbing connections within the filter. Once
all connections are checked, place the filter
back into the aquarium.
5. The ceramic noodle bag will come packed
tin a plastic bag, this bag needs to be removed.
The ceramic noodles are located beneath a
drip tray. Using the handle on the drip tray,
lift it out to access the ceramic noodles. The
carbon cartridge can also be accessed in the
same way.
6. Locate the filter outlet fitting.
Screw the fitting into the outlet located at the
top, centre of the filter. Ensure the outlets are
facing slightly downwards in the aquarium.
7. Place the lid on the protein skimmer and
the larger lid on the filter.
8. Wash the substrate that will be used in the
aquarium. In order to do this, place a portion
of the substrate into a bucket and run water
through it, churning with your hand. Continue
until the water running out of the bucket is
clear. Place the washed substrate into the
aquarium.
9. Add any rocks or ornaments into the
aquarium. Place the heater in the aquarium,
following the instructions supplied with the
heater. DO NOT turn the heater on when it is
not submerged.
10. Assemble the light unit as shown below.
Note the 4 screws on each support arm. There
is an extendable section shown between
screws 2 and 3. This can be raised and
lowered to adjust the height of the light above
the aquarium.
11. It is now time to fill the aquarium with water.
Ensure the salinity/specific gravity is at the
7
GB
1
2
3
4
