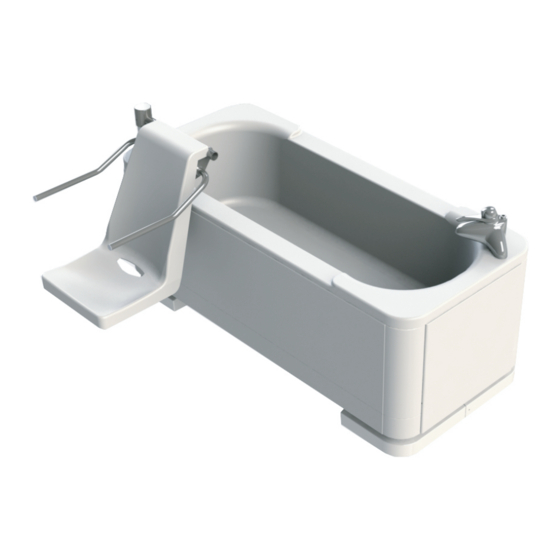
ABACUS Aquanova Scorpio 1700 Информационный пакет - Страница 9
Просмотреть онлайн или скачать pdf Информационный пакет для Ванны ABACUS Aquanova Scorpio 1700. ABACUS Aquanova Scorpio 1700 18 страниц. Fixed seat & transfer system

Scorpio 1700 Installation Instructions
Items
Items supplied with the kit should be as follows:
Information pack (This pack)
User manual
Bath unit complete (Bath Shell, Outer panels, Frame, Control pack)
Bath surround panels - inner
Flexible water feed pipes x2
User handset
Lap Belt
Bath shower mixer tap (TMV) - optional
Base unit fixing kit (Comprising bolts/screws - see floor fixing kit)
Installation
Preparation of Site
a) Carefully remove all packaging and inspect the bath thoroughly. Note: Do not use sharp knives or
instruments to remove packaging around the finished surface areas of the bath.
b) Ensure all component parts are present before beginning installation.
It is important to ensure the complete kit is there. If there are ANY components missing contact the
office and quote the number on the side of the bath.
c) Prepare the floor area and ensure it is flat, level and structually sound and there are
NO SERVICES BURIED within the floor fixing area.
Bath Fitting
Ensure that the site is ready as per the Pre Installation Requirements detailed in this pack .
Remove transport wheels and straps if in place.
THIS SECTION IS CRITICAL
Base Plate Fixing -
See the floor fixing kit for the correct floor fixings to be used.
Using the floor fixing template on the pre-install detail on page 5, mark out the floor fixing holes
for the end footplates.
Starting with the bath head end foot plate, drill 4 holes as appropriate for the fixings (Using the
400mm or 485mm centres) in the floor ensuring they are into solid construction.
Clean out the holes and using the correct floor installation kit tighten up fully making sure
the frame is vertical in both planes. Repeat with the foot end foot plate (2 position minimum).
It is important that both end frames are completely vertical.
9
