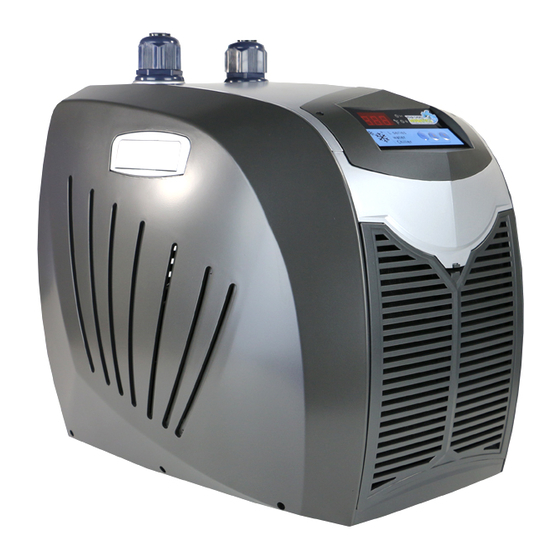
Aqua One Arctic 1/3HP Руководство по эксплуатации - Страница 4
Просмотреть онлайн или скачать pdf Руководство по эксплуатации для Охладитель Aqua One Arctic 1/3HP. Aqua One Arctic 1/3HP 6 страниц.

GB
Installation
1. Place the chiller in a well ventilated, level area.
2. The chiller is supplied with 19mm inlet and outlet
hosetails. Attach the hose to the inlet fitting. Use the
supplied hose clamp to secure the hose. The water
being supplied to the chiller should be pre-filtered to
avoid buildup in the internal pipes.
3. Attach the hose to the outlet fitting. Use the supplied
hose clamp to secure the hose. The outlet should not
be placed close to the pump that is feeding the
chiller.Use the supplied hose clamp to secure the
hose. The water being supplied to the chiller should be
pre-filtered to avoid buildup in the internal pipes.
4. Attach the hose to the outlet fitting. Use the supplied
hose clamp to secure the hose. The outlet should not
be placed close to the pump that is feeding the chiller.
5. Turn on the water supply to the chiller. Allow it to run
for a few minutes before turning the chiller on at the
power supply.
6. Check all hoses and connections for any kinks or
leaks.
7. Plug the chiller in at the power supply.
8. There is a power switch located at the back of the
unit. Switch on the chiller.
9. Set the chiller to the desired temperature. Press
and hold the set button (fig. 1) on the control pad for
5 seconds, until the display flashes displaying P and
a 2 digit number. This is the temperature the chiller
is set to. Use the up and down buttons to select the
desired temperature. Once the correct temperature is
displayed, press the set button again.
The switching temperature can be set to a variance
of either 1, 2 or 3°C. In order to change this, press
the Set and Up arrow buttons (fig. 2) together for 5
seconds. Either a 1, 2 or 3 will be displayed. Use the
up or down keys to switch between these settings then
press Set to confirm the value. The chiller will turn on
once the temperature reaches this value above the
set temperature and switch off once the aquarium
temperature is below the set temperature. For example
if the chiller is set to 25°C with 2°C variance, the chiller
will switch on at 27°C and switch off at 24.9°C.
NOTE: If installing the chiller on an existing aquarium,
drop the temperature by only 1-2°C per day.
If the chiller is switched off it will take a minimum of 3
minutes for it to come back on.
Maintenance
When performing any maintenance on this unit,
ensure the power has been switched off at the power
supply and the plug has been disconnected.
It is recommended to clean the intakes on the chiller
once a month. Failure to do so may cause the chiller
to overheat and suffer permanent damage. In order to
clean the unit, remove the plastic covers then using
a soft bristled brush, throughly brush the entire grill.
Vacuum the area to remove any dust/dirt that has come
loose.
CAUTION: When cleaning the chiller, do not use water
on the external parts or the radiator. The chiller must
remain dry at all times.
If the chiller has not been run for an extended period
(for example after being switched off during winter),
flush the chiller with freshwater or freshly mixed salt
water. Discard the water that is flushed out of the unit.
CALIBRATION
This unit can be calibrated to ±1.5°C from the displayed
temperature. Calibration should be done using an
accurate thermometer and can be used to calibrate the
chiller to aquarium temperature where heat is generated
in water before it is supplied to the chiller, for example
by heaters or pumps. To calibrate the temperature press
and hold the Up and Down buttons (fig. 3) together for
5 seconds. A temperature of between -1.5°C and 1.5°C
will be displayed. Use the Up and Down buttons to set
the desired calibration value then press the set button
to confirm the value.
6
Fig, 1
Fig. 2
Fig. 3
