Aqua Quip JET-VAC Руководство по установке и руководство пользователя - Страница 5
Просмотреть онлайн или скачать pdf Руководство по установке и руководство пользователя для Пылесос для плавательных бассейнов Aqua Quip JET-VAC. Aqua Quip JET-VAC 12 страниц. Automatic pool cleaner
Также для Aqua Quip JET-VAC: Руководство по установке и руководство пользователя (12 страниц)

INSTALLATION PROCEDURE (continued)
The Jet-Vac Feed Hose has now been
installed, connected to the pool wall and
cut to size. Before attaching the Jet-Vac
Cleaner to the hose, you will need to test
and adjust the pressure.
PRESSURE TEST STICK – USE
JET‑VAC BRAND TEST STICK ONLY:
To ensure optimum performance of the Jet-Vac, the
water pressure may need to be adjusted after the
feed hose assembly is cut to fit your individual pool
size. Too little pressure will cause sluggish
performance and too much pressure could damage
the Jet-Vac or burst the feed hose, jeopardizing the
warranty. Excess pressure can also cause the
Jet-Vac to "fly" off the bottom of the pool surface.
The Jet-Vac installer will need the JVP8 Pressure Test
Stick with a Pressure Gauge. The pressure stick is
not supplied with Jet-Vac but is available from your
local pool professional.
1) Ensure the pool pump and booster pump are
switched off.
2) Snap Pressure Test Stick JVP8 onto Quick
Disconnect Swivel JV50 at the end of the feed line
where the whip hose is attached.
3) Hold the ends of the whip hose and Pressure Test
Stick under the water and turn ON pool pump
and booster pump. NOTE: If you do not have
someone to assist you, secure the Pressure Test
Stick and whip hose with a tool box or similar
heavy object.
4) After turning ON the pumps, grasp the Pressure
Test Stick and whip hose firmly before removing
the heavy object used to secure them. Hold the
ends of the sweep hose and test stick under the
water.
Pressure Test Stick JVP8
To reduce pressure to the Jet-Vac,
unscrew the pressure relief valve
anti-clockwise as shown. This will
reduce the speed of the Jet-Vac.
J E T - V A C A U T O M A T I C P O O L C L E A N E R – I N S T A L L A T I O N & O P E R A T I N G I N S T R U C T I O N S
JET-VAC
AUTOMATIC
POOL CLEANER
5) While holding the ends of the whip hose and
pressure stick under the water, unscrew pressure
relief valve until the pressure gauge reads 172-
193 kpa (25-28 PSI). See Diagram Below. Do not
adjust the pressure with the water stream from the
Pressure Test Stick or the sweep hose shooting
into the air. This will cause a false reading. Use a
Jet-Vac Brand Pressure Test Stick only, and make
sure the sweep hose and end of the test stick are
under water when adjusting the pressure.
6) Turn OFF booster pump AND pool pump.
7) Disconnect Pressure Test Stick from feed line.
ASSEMBLE AND INSTALL JET‑VAC
HEAD UNIT:
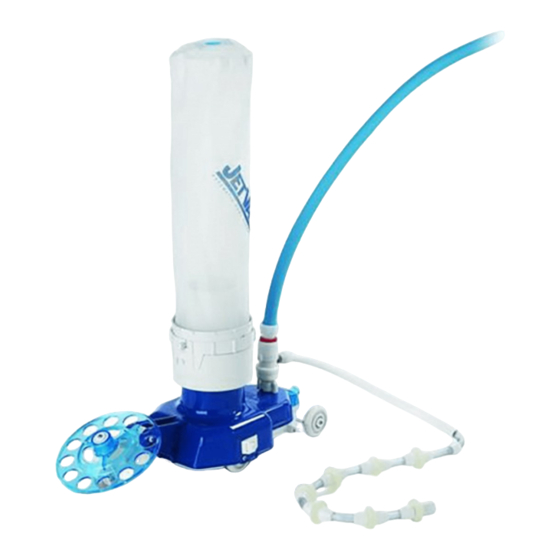
1) Attach JV30 Funnel Adaptor to Jet-Vac head.
Ensure JV29 Gasket is sitting flat in JV30.
2) Attach JV32 Debris Bag to JV30 Funnel Adaptor.
3) Attach JV50 Disconnect Swivel at sweep hose
end of feed hose onto Jet-Vac cleaner.
4) Place the Jet-Vac in pool, at furthest point from
wall fitting.
5) Turn ON pool pump for at least 30 seconds to
purge the air from the unit.
6) Turn ON booster pump. Remember, booster pump
must only operate whilst pool pump is running.
Congratulations, the Jet-Vac is now
installed and operating.
5
