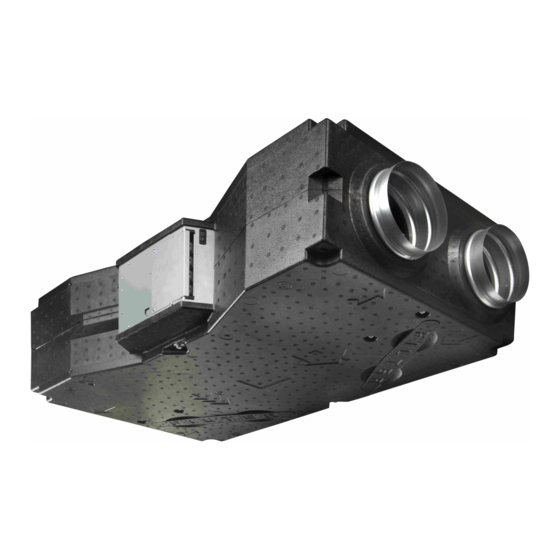
2VV VENUS AirGENIO Comfort Руководство по установке - Страница 7
Просмотреть онлайн или скачать pdf Руководство по установке для Вентиляционная вытяжка 2VV VENUS AirGENIO Comfort. 2VV VENUS AirGENIO Comfort 15 страниц.
Также для 2VV VENUS AirGENIO Comfort: Краткое руководство по эксплуатации (16 страниц)

6. INSTALLATION
Measure up the place of installation.
•
Drill the holes into the wall and hang the unit on threaded
•
bars on all corners of the unit.
ATTENTION
Threaded rods must be able to take the weight of the unit!
•
Considering the weight of the unit, it is necessary to use
•
suitable lifting equipment (a fork lift truck etc.) or use two
or more persons who will hold it up until it is safely moun-
ted.
•
YOU WILL NEED
4 wall plugs according to type and size of the screw (also de-
•
pending on the ceiling material and the weight of the unit).
Electric drill and drills of the relevant size.
•
6.2 CONNECTING THE CONDENSATION
WATER OUTLET
YOU WILL NEED
drain hose 1/2"
•
h1=150mm
The remaining holes sealed
by plugs.
Connect the siphon on to the neck and the drain pipe which will
lead to the sewerage system.
2VV. Creating innovative solutions for you and your business since 1995.
ver.1 06-04-20
DO NOT MISS!
Check whether the unit is tilted so the condensate may run off
•
freely (we suggest 5° tilt, see the figure below).
The siphon must be connected and sealed properly in the
•
heat exchange unit.
ATTENTION
Improper connection of the siphon may cause flooding and da-
mage to the heat exchange unit.
5 °
The siphon (SK-HL138) may be installed on the wall or concealed.
DO NOT MISS!
Check the following prior to the first activation of the ventilation
unit:
That unit is correctly attached to the framework.
•
That unit is closed properly, all of the necks are connec-
•
ted to the pipelines or protected with a grid and therefore
there is no risk of injury from rotating or hot parts.
Electrical connections must correspond with wiring dia-
•
gram.
That all electrical components are correctly connected.
•
That condensation water outlet is connected to the drai-
•
nage.
That installation corresponds with all instructions from
•
this manual.
That there are no tools or other objects left inside the unit
•
which could damage it.
Whether unit includes a clean filters.
•
ATTENTION!
Interventions and changes to the internal connection of the
•
unit are prohibited, they may lead to warranty loss.
We suggest using the accessories supplied by our company.
•
In case of any doubts in use of the original accessories please
contact the supplier.
7
