CPG 351GTUCPG36L Руководство пользователя - Страница 6
Просмотреть онлайн или скачать pdf Руководство пользователя для Варочная панель CPG 351GTUCPG36L. CPG 351GTUCPG36L 11 страниц. Gas countertop chrome plated griddles with thermostatic controls

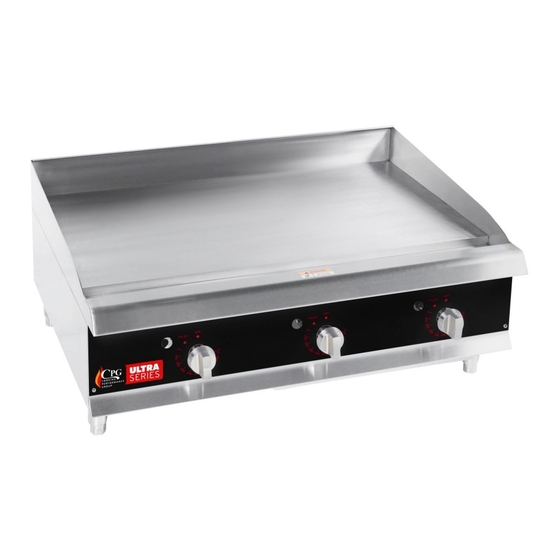
COOKING WITH A CHROME PLATED GRIDDLE
Your new CPG chrome plated griddle has excellent heat retention and heat transfer as well as minimal
flavor transfer. CPG has created a griddle that offers a reduction in energy costs and clean up time,
translating into a great deal of profit savings.
Since the chrome plated griddle has such a high level of heat retention, it acts as a heat shield that does
not allow as much upward radiation, creating a cooler work environment. The significant amount of heat
retained on the chrome griddle also allows for a rapid heat transfer, which produces faster cook times at
lower temperatures.
Unlike steel plate griddles, the chrome plate on the griddle prevents food particles from getting trapped
on the cooking surface, thus preventing flavor transfer. In other words, your pancakes for breakfast will
not taste like last night's salmon.
LIGHTING INSTRUCTIONS
The pilot light on the griddle has been pre-set at the factory. A screwdriver may be required for the initial
lighting to adjust the flame for your elevation.
ADJUSTING PILOT LIGHT
1.
Turn off the manual valve and wait 5 minutes to clear gas.
2.
Turn all knobs to "OFF" position.
3.
Hold an ignition source (match) at pilot. When the flame is established, remove ignition source.
4.
Turn burner knobs to "ON". If the burner does not ignite, promptly open pilot valve more.
If pilot flame appears larger than necessary, turn it down and reset burner ignition.
The pilot flame should be as small as possible but large enough to guarantee reliable ignition
of burners when knobs are turned to "ON".
LIGHTING PILOT LIGHT:
1.
Select the burner required, depress and turn the corresponding gas control knob
counter-clockwise to "PILOT" position.
2.
With the gas control knob depressed, manually light pilot burner.
3.
Release gas control knob approximately 10-20 seconds after lighting pilot burner.
4.
Pilot burner should stay lit. Provided it does not, repeat steps 2 and 3.
5.
Rotate gas control knob counter-clockwise to desired temperature mark.
6.
The main burner will now be ignited automatically.
NOTE:
If you want the pilot to remain ON:
DO NOT move the knob back towards "OFF" from the pilot.
If you want to extinguish the pilot:
Turn the knob back to the "OFF" position.
6
USER MANUAL
www.CookingPerformanceGroup.com
