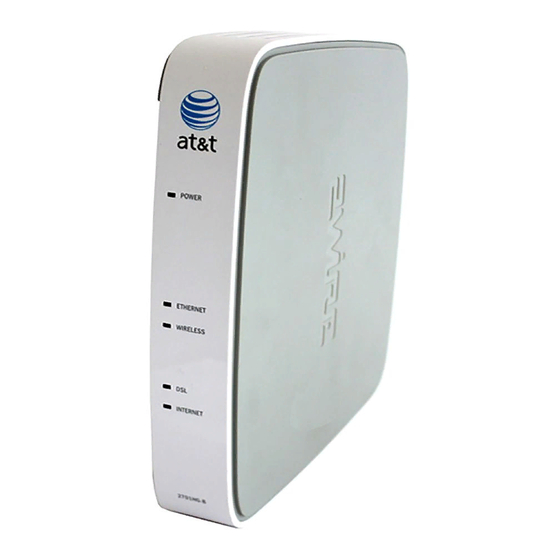
2Wire 2701HGV-B Руководство по самостоятельной установке
Просмотреть онлайн или скачать pdf Руководство по самостоятельной установке для Шлюз 2Wire 2701HGV-B. 2Wire 2701HGV-B 2 страницы. For at&t u-verse

1
Setup
10 minuteS
Verify that you are installing your device after the Installation Date, which
is indicated in the AT&T U-verse Order Confirmation emailed to you earlier.
Connect the Dual-Port Phone Filter to your wall jack.
A
note: Phone service is not required to setup your High Speed internet.
B
Connect the green Data Cable from the port labeled 'DSL/HPNA' on the
Dual-Port Filter to the Phone Line port on the Gateway.
if you have a phone device that will share this jack, plug it into the port
C
labeled 'PHONE' on the Dual-Port Phone Filter.
Phone Device
Data Port
ethernet
Ports
Phone Port
Power Port
Wireless Gateway 2701HGV-B – Back Panel
Connect the yellow Ethernet cable from a Ethernet port on the Gateway to
D
the ethernet port on your PC.
E
Connect one end of the Power Adapter to the Power port on the Gateway
and plug the other end into an electrical outlet. You should see a blinking,
then steady green Power light to indicate a successful power connection.
Questions?
Go Online
Go to http://support.att.com and log in using the account iD (email
address) you were given and the password you created at installation.
C
Phone Cable
Phone Port
A
B
DSL/HPnA Port
Data Cable
Dual-Port Phone Filter
Wall Jack
D
ethernet Cable
Computer
E
Power Adapter
electrical Outlet
2
Power up
15 minuteS
Your Gateway is now powering up. Wait up to 15 minutes for the
indicator lights for DSL and Internet to be solid green and the
Ethernet indicator light to be blinking green.
Important:
During this time, do not unplug the Power Adapter
or green Data Cable. Unplugging the Gateway before Power
Up is finished can damage the Gateway.
if the DSL light does not turn solid green or continues to blink
after 20 minutes, repeat the Step 1 Setup process or try another
phone jack in your home.
While you are waiting...
While you are waiting for lights to come
on, install Single-Port Phone Filters on
wall jacks in your home that have phone
devices. Phone filters will prevent static on
your phone line. Phone filters must also
be installed on FAX machines, satellite
receivers, modems, and any other devices
connected to a phone jack.
3
Activate
20 minuteS
turn on your PC and open an
internet browser.
the At&t Online Registration page
will appear automatically. if it does
not, enter https://lsreg.att.net into
your address bar. Continue with
online registration.
To open your browser If
you are a PC User: Double
click on the internet explorer
icon to open your web
browser.
To open your browser If
you are a Mac User: Double
click on the Safari icon to
open your web browser.
After registration you will be directed
to an online support tool at:
https://UverseActivation.att.com
for features configuration, such as
wireless networking, or continue to
Step 4 in this guide to Go Wireless.
Call Us
Call 1-800-ATT-2020 to reach an At&t u-verse customer support
expert to get answers or add new features and services.
ETHERNET
Blinking green
WIRELESS
PHONE 1
PHONE2
DSL
Solid Green
INTERNET
Solid Green
note:
During the Power up sequence the Power light
may turn red and then the device will reboot itself. this
is a normal part of this Power up sequence.
3600HGV
Installing Phone Filters
Phone Filter & Cable
Wall Jack
Phone Device
4
Go Wireless
10 minuteS
You will need your network name (SSiD) and
Wireless network Key (WeP) to configure a
wireless device. this information is on the side
of your Gateway.
SN: 210811000079
For Advanced Configuration: http://192.168.1.254
System Password: 1534418033
Mac Address: 00217C3C79F0
Wireless Network Key: 7656950547
example information
Wireless network Setup
1.
On your computer, go to your network
Settings and refresh the network list.
2.
Select the network name (SSiD). the
network name (SSiD) starts with "2WiRe"
followed by the last three digits of your
Gateway serial number. You may need to
scroll through the list to find your SSID.
3.
enter the 10-digit Wireless network Key
(WeP).
4.
You should now be wirelessly connected
to the internet!
