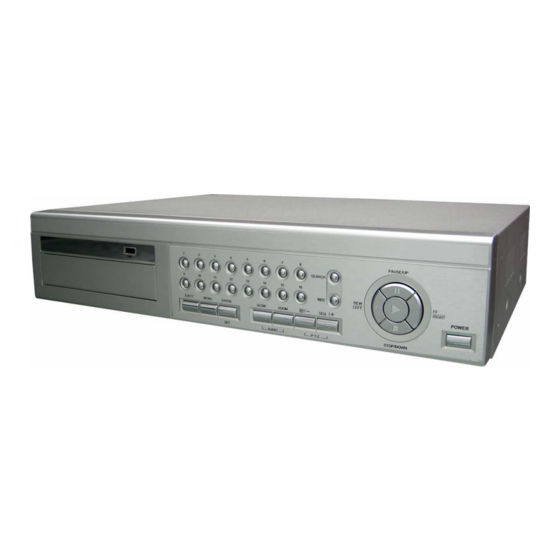
Avtech AVD717 Краткое руководство по эксплуатации - Страница 4
Просмотреть онлайн или скачать pdf Краткое руководство по эксплуатации для DVR Avtech AVD717. Avtech AVD717 16 страниц. High-end series

3.2 Camera Connection
The cameras must be connected and power-supplied before the DVR is turned on. For detailed DVR video input /
output ports, please refer to section "2. REAR PANELS" at page 1. For detailed external I/O port description, please refer
to the section "5. PIN CONFIGURATION" at page 13. For detailed camera setup, please refer to its own manual.
3.2.1 Normal Camera Connection
1) Connect the camera with indicated power supply.
2) Connect the camera video output signal to DVR video input port with coaxial cables or RCA line with BNC connector.
For detailed camera title, ID, protocol and baud rate setup, please refer to section "6.4.5 Remote" at page 32 of the
manual.
3.2.2 PTZ Camera Connection
1) Connect the PTZ camera with indicated power supply.
2) Connect the PTZ camera video output to the DVR video input port with a coaxial cable or RCA line with BNC
connector.
3) Connect "RS485-A" line (brown color) to RS485-A port on the rear panel of the DVR. Connect "RS485-B" line (orange
color) to RS485-B port on the rear panel of the DVR.
NOTE: For detailed camera ID, protocol and baud rate setup at DVR side, please refer to section "6.4.5 Remote" at page 32
of the manual.
For detailed camera ID, protocol and baud rate setup at remote AP software side, please refer to section "(1)
Device" at page 55 of the manual (AP software system configuration). For detailed PTZ setup and control instructions,
please refer to section "6.6.5 PTZ Camera Setup and Control" at page 42 of the manual.
Page 3
QUICK INSTALLATION
