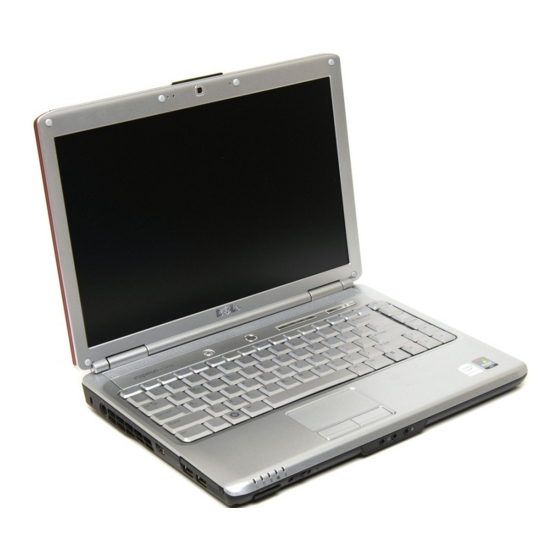
Dell Inspiron 1420 Руководство по эксплуатации - Страница 32
Просмотреть онлайн или скачать pdf Руководство по эксплуатации для Ноутбук Dell Inspiron 1420. Dell Inspiron 1420 46 страниц. Service manual
Также для Dell Inspiron 1420: Руководство по настройке (2 страниц), Настройка (2 страниц), Руководство по эксплуатации (46 страниц)

Replacing a WLAN Card
NOTICE:
The connectors are keyed to ensure correct insertion. If you feel resistance, check the connectors on the card and on the system board,
and realign the card.
NOTICE:
To avoid damage to the WLAN card, never place cables under the card.
1. Insert the WLAN card connector into the system board connector labeled "WLAN" at a 45-degree angle by aligning the notch on the WLAN card to the
slot on the system board connector.
2. Press down the other end of the WLAN card and tighten the screw securing the card to the system board.
3. Connect the appropriate antenna cables to the WLAN card you are installing:
If the WLAN card has two triangles on the label (white and black), connect the white antenna cable to the connector labeled "main" (white triangle), and
connect the black antenna cable to the connector labeled "aux" (black triangle).
If the WLAN card has three triangles on the label (white, black, and gray), connect the white antenna cable to the white triangle, connect the black
antenna cable to the black triangle, and connect the gray antenna cable to the gray triangle.
4. Secure unused antenna cables in the protective mylar sleeve.
5. Replace the keyboard (see
6. Replace the keyboard cover (see
Removing a Mobile Broadband or WWAN Card
NOTE:
WWAN is also available on an ExpressCard.
NOTE:
WWAN card and FCM share the same slot. You can install only one card at a time.
1. Follow the procedures in
Before You
2. Remove the keyboard cover (see
3. Remove the keyboard (see
4. Loosen the screw that secures the WWAN card to the system board.
5. Disconnect the antenna cables from the WWAN card.
Replacing the
Keyboard).
Replacing the Keyboard
Cover).
Begin.
Removing the Keyboard
Cover).
Removing the
Keyboard).
