Dell Inspiron 600m Руководство по эксплуатации - Страница 34

Просмотреть онлайн или скачать pdf Руководство по эксплуатации для Ноутбук Dell Inspiron 600m. Dell Inspiron 600m 40 страниц. Hard drive
Также для Dell Inspiron 600m: Начните здесь (2 страниц), Начните здесь (2 страниц), Начните здесь (2 страниц), Руководство по началу работы (2 страниц), Руководство пользователя (34 страниц), Руководство по настройке (2 страниц), Начало работы (2 страниц), Руководство по настройке (2 страниц), Руководство по настройке (2 страниц), Руководство по настройке (2 страниц), Руководство по настройке (2 страниц), Руководство по настройке (2 страниц), Руководство по настройке (2 страниц), Руководство по настройке (2 страниц), Руководство по эксплуатации (41 страниц), Руководство пользователя медиабазы (26 страниц), Руководство по эксплуатации (41 страниц), Установка и настройка (38 страниц), Быстрый старт (2 страниц), Быстрый старт (2 страниц), Быстрый старт (2 страниц), Настройка компьютера (2 страниц), Руководство по эксплуатации (41 страниц), Руководство по эксплуатации (4 страниц)
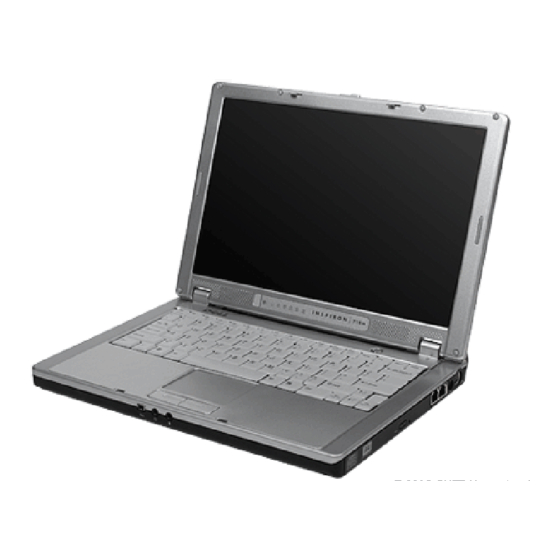
Dell Inspiron 600m Руководство по эксплуатации
 
7. Loosen the two captive screws, and remove the upper memory module cover.
1 upper memory module
cover
2 captive screws (2)
NOTICE:
To prevent damage to the memory module connector, do not use tools to spread the memory module securing clips.
 
8. If you are replacing a memory module, remove the existing module.
NOTICE:
Handle components and cards by their edges, and avoid touching pins and contacts. Ground yourself by touching a metal connector on the
back of the computer. Continue to ground yourself periodically during this procedure.
a.  Use your fingertips to carefully spread apart the securing clips on each end of the memory module connector until the module pops up.
b.  Remove the module from the connector.
 
9. Ground yourself and install the new memory module:
a.  Align the notch in the module edge connector with the tab in the center of the connector slot.
b.  Slide the module firmly into the slot at a 45-degree angle, and rotate the module down until it clicks into place. If you do not hear the click,
remove the module and reinstall it.
NOTE:
If the memory module is not installed properly, the computer may not boot properly. No error message indicates this failure.
 
10. Insert the securing tabs on the upper memory module cover into the notches above the memory module connector and tighten the captive screws.
NOTICE:
If the upper memory module cover is difficult to replace, remove the module and reinstall it. Forcing the cover to close may damage your
computer.