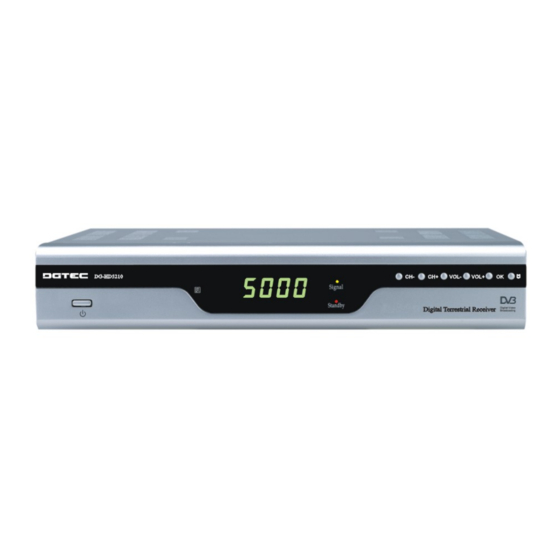
DGTEC DG-HD5210 Руководство пользователя - Страница 11
Просмотреть онлайн или скачать pdf Руководство пользователя для Приемник DGTEC DG-HD5210. DGTEC DG-HD5210 20 страниц. High definition digital terrestrial receiver

Connecting your STB
Step 1: Connect to the antenna
Connect the antenna lead coming from the wall plate to the AERIAL IN socket.
Step 2: Choose your Connection
There are a number of methods for connecting your STB to the television, depending on
your preference and the connection types on your TV. These methods are labelled A, B
and C below.
A: Y / Pb / Pr (Component) using the supplied RCA blue–red–green lead
For Component video, connect with the supplied Y / Pb / Pr Component cable (green,
blue and red leads). Connect the leads to the Y, Pb and Pr sockets on the back of the unit,
and then to the corresponding Component sockets on your TV. Please pay attention to
the color-coding. You will also need to establish a connection for left and right audio via
the audio sockets. This can be done using the supplied RCA cable.
For right audio, connect the red RCA lead and for left audio, connect the white RCA lead.
B. HDMI connection
If your TV has a HDMI input, you can use a HDMI cable from the back of STB to the rear
of the television. A HDMI lead supplies both audio and visual through the single cable so
no audio leads are necessary.
Please ensure that your television is set to the HDMI input mode for detection of STB
device to be made.
C: CVBS (Composite) using the supplied RCA red–white–yellow lead
Using the appropriate color-coding, you can connect to your TV with the supplied RCA
cable.
For video, connect the yellow RCA lead to the yellow video socket on the back of the
STB and the corresponding socket on your TV.
For right audio, connect the red RCA lead to the red audio socket on the back of the STB
and the corresponding socket on your TV.
For left audio, connect the white RCA lead on the back of the STB and the corresponding
socket on your TV.
Note: If picture is still not visible on the screen, please press the EXIT button
followed by the FORMAT button on the RCU. Keep pressing until 576 is visible on
the front display screen followed by a series of numbers. You can now commence
setup by pressing the MENU button.
11
