Chris King nothreadset Руководство пользователя
Просмотреть онлайн или скачать pdf Руководство пользователя для Гарнитуры Chris King nothreadset. Chris King nothreadset 2 страницы.
Congratulations!
purchased what many people regard
as the finest headset in the world.
Since 1976 Chris King has been
supplying cyclists with the best made,
most reliable headsets you can buy.
With proper installation and mainte-
nance you can expect to enjoy the
many years of the legendary quality
and performance built into each and
every component we make.
Installation
Headset installation requires specialized
tools. We recommend the procedure
be performed by a professional bicycle
mechanic.
To ensure proper installation, the use of
headset cup press adapter kits are recom-
mended. Our press adapters help to cor-
rectly align the bearing cups with the head
tube and prevent damage to the bearings
by directing pressure only and evenly over
the bearing cups. The baseplate installation
adapter prevents damage to the baseplate
by protecting the conical bearing contact
surface from the crown race setting tool.
Sizes are available to fit all popular headset
pressing and setting tools.
Preparation of Head Tube and
Installation of Bearing Cups
Proper preparation of the head
tube is essential for best headset
performance.
1.
Ream and face the head tube to
ensure that the ends are square
and parallel to each other, and the
head tube bore (inner diameter)
is correct (see table below) to
ensure proper press fit. Minimum
ream depth is 25.4mm into the
head tube.
2.
Using a small file or sand paper,
carefully remove any sharp edges
or burrs and slightly round, or
chamfer, the inside edges of the
head tube at the top and bottom
to prevent shearing any metal from
the cups during installation.
3.
C l e a n t o r e m o v e a n y c h i p s ,
shavings, and/or cutting oil.
4.
The proper press fit should be
with no more than .1mm (.004")
of interference. See table below
for head tube bore specifications.
Do not file or otherwise remove
material from the cups to make
them fit.
5.
Press in both bearing cups using
a headset cup installation press
fitted with our headset cup press
adapters. Check to assure the cups
are seated flatly against the ends of
the head tube.
1"
1" BMX
1-1/8"
1-1/4"
1.5
Preparation of Fork and
Installation of Baseplate
Proper preparation of the fork is
essential for best headset perfor-
mance.
1.
Ream and face the crown race seat
to ensure that the crown race seat
face is square with the steer tube.
See table above for crown seat
outer diameter (OD) specifications.
The proper base plate press fit
should be with no more than .1mm
(.004") of interference.
2.
C l e a n t o r e m o v e a n y c h i p s ,
shavings, and/or cutting oil.
3.
Slide the baseplate, conical side
up, onto the steer tube. With the
beveled side of the baseplate
installation adapter against the
baseplate, use a crown race setting
tool to set the baseplate.
Cutting of Steer Tube
Use extreme caution when cutting
steer tube to avoid injury.
1.
Insert fork into frame.
2.
Remove O-ring from bearing cap
and slide bearing cap, then any
spacers and the stem over steer
tube. Scribe a line flush with top
of stem.
3.
Remove stem and mark another
line 3mm below the first. Cut on
the lower line using a hacksaw
and saw guide.
4.
Remove all sharp edges from inside
and outside of steer tube. With a file
or sandpaper, round outside edge
of tube to avoid shearing the O-ring
upon installation.
5.
Re-install O-ring into bearing cap
and apply grease to O-ring.
A.
B.
C.
D.
E.
F.
G.
H.
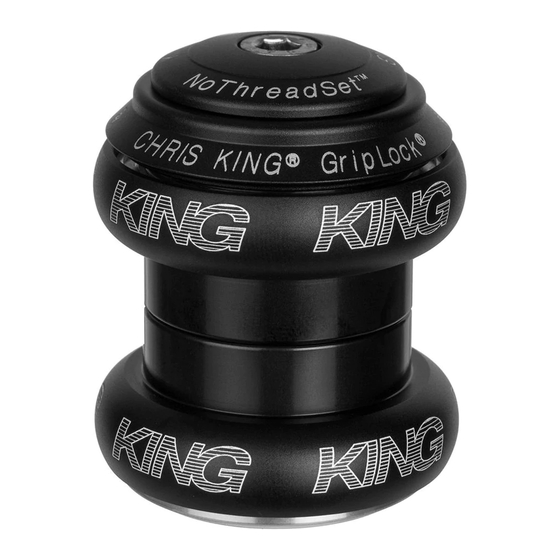
A. stem cap screw
B. stem cap
C. star nut
D. scuff washer
E. bearing cap
F. upper bearing cup assy.
G. lower bearing cup assy.
H. baseplate
NoThreadset™
Head tube
bore (ID)
30.1 mm
32.7 mm
33.9 mm
36.9 mm
49.6 mm
NoThreadSet™
You have just
C r o w n
seat OD
26.5 mm
26.5 mm
30.1 mm
33.1 mm
39.8 mm