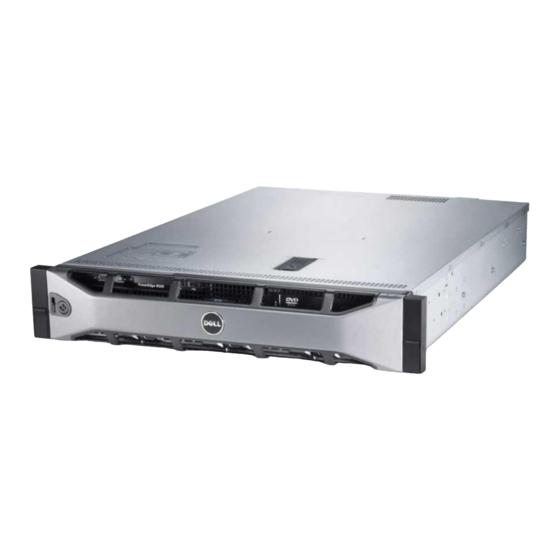
Dell PowerEdge R520 Руководство по установке - Страница 6
Просмотреть онлайн или скачать pdf Руководство по установке для Сервер Dell PowerEdge R520. Dell PowerEdge R520 8 страниц. 2-socket, 2u rack server
Также для Dell PowerEdge R520: Руководство (11 страниц), Руководство по началу работы (9 страниц), Руководство по портфолио (27 страниц), Техническое руководство (50 страниц)

Installing the Second Processor
CAUTION:
Only trained service technicians are authorized to remove the system
cover and access any of the components inside the system. Before you begin this
procedure, review the safety instructions that came with the system.
1 Ensure that you have followed the steps mentioned in "Before You Begin"
on page 3.
2 Unpack the new processor.
CAUTION:
Positioning the processor incorrectly can permanently damage the
system board or the processor. Be careful not to bend the pins in the socket.
CAUTION:
Do not use force to seat the processor. When the processor is
positioned correctly, it engages easily into the socket.
3 Align the notches in the processor with the socket keys on the ZIF socket
and set the processor lightly in the ZIF socket. See Figure 1-1.
4 Close the processor shield.
5 Using a clean lint-free cloth, remove the thermal grease from the heat sink.
CAUTION:
Applying too much thermal grease can result in excess grease coming
in contact with and contaminating the processor socket.
6 Open the grease applicator included with your processor kit and apply all
of the thermal grease in the applicator to the center of the topside of the
new processor.
7 Place the heat sink on the processor.
8 Tighten the heat-sink retention sockets. See Figure 1-2.
6
Additonal Processor Installation
