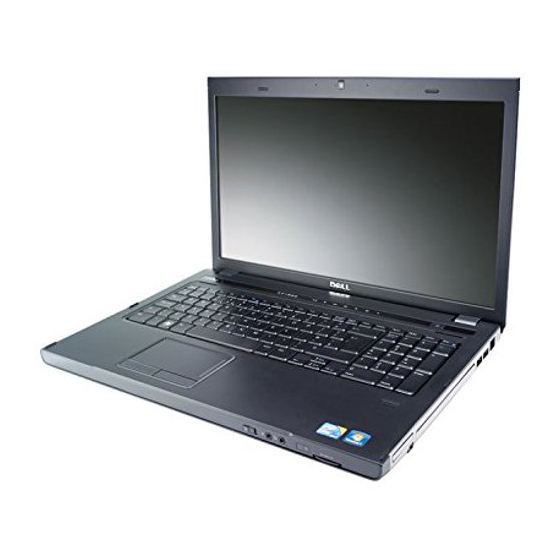
Dell Inspiron 3700 Руководство по настройке - Страница 12
Просмотреть онлайн или скачать pdf Руководство по настройке для Хранение Dell Inspiron 3700. Dell Inspiron 3700 16 страниц. Dell inspiron systems setup guide
Также для Dell Inspiron 3700: Начать (4 страниц), Руководство пользователя (32 страниц), Начало работы (4 страниц), Руководство (8 страниц)

3-2
Dell Inspiron Systems Setup Guide
3.
Turn on the printer, and then turn on the computer.
4.
If the printer is automatically detected by Windows, follow the instructions that
appear on your screen to complete setup of the printer.
If the printer is not automatically detected during operating system start-up,
proceed to step 5 to complete the printer setup.
5.
Double-click the My Computer icon on the Windows desktop.
6.
Double-click the Printers folder, and then double-click the Add Printer icon.
7 .
In the Printer Wizard dialog box, click either the Local Printer option or the Net-
work Printer option and then click Next>.
8.
Select the printer manufacturer and model from the list provided. If your printer is
not listed and the printer drivers are on a diskette or CD, click Have Disk... and
insert the diskette into drive A or the CD into the CD-ROM or DVD-ROM drive.
9.
Click the serial (COMn) or parallel (LPT1) port that you want to use.
Choose the computer serial or parallel port to which you connected the printer.
Verify that the port you chose is not already assigned to another device. If
necessary, add a port or configure a port by using the buttons in the Printer
Wizard dialog box.
NOTE: If you are connecting to a network printer, contact your network
administrator.
10. Type the printer name (up to 31 characters) and click Next>.
11. If prompted, indicate whether the printer will be shared with other network users
by clicking either the Shared or Not shared option.
12. Select Y es or No to indicate whether you want to print a test page.
If you choose to print a test page, follow the instructions on the screen.
13. Click Finish.
