Dell PowerVault MD3060e Series Руководство по началу работы - Страница 3

Просмотреть онлайн или скачать pdf Руководство по началу работы для Хранение Dell PowerVault MD3060e Series. Dell PowerVault MD3060e Series 10 страниц. Storage enclosure
Также для Dell PowerVault MD3060e Series: Руководство по аппаратному и программному обеспечению (25 страниц), Руководство по установке (11 страниц), Руководство по началу работы (10 страниц), Обновление информации (8 страниц), Инструкции по установке стоек (2 страниц), Настройка (2 страниц), Руководство по развертыванию (24 страниц), Руководство администратора (35 страниц), Руководство по развертыванию (24 страниц), Руководство пользователя (40 страниц), Руководство администратора (48 страниц), Настройка (2 страниц)
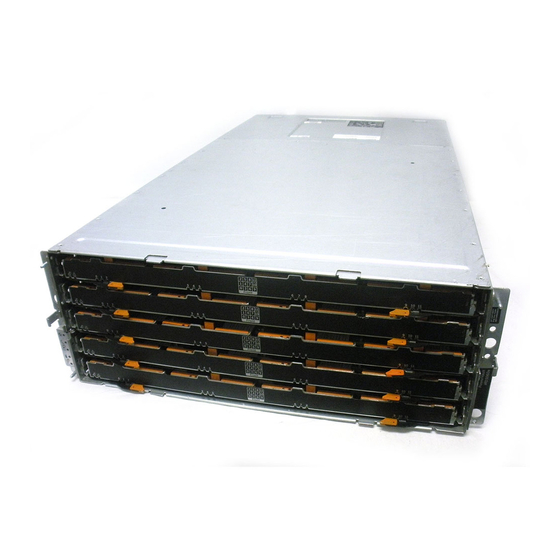
Dell PowerVault MD3060e Series Руководство по началу работы

Installation And Configuration

CAUTION: Before performing the following procedure, review the safety instructions that came
with the system.
Unpacking A Rack System
WARNING: The weight of your system without the physical disks installed (empty weight) is 19.50
kg (43.0 lb) and when fully populated with all the physical disks is 105.20 kg (232.0 lb).
WARNING: Your system must be installed by Dell certified service technicians. For safe
installation of an empty system, a minimum of three service technicians are required. To install a
fully populated system, a mechanized lifting tool is required to position the system in a rack.
WARNING: Install the physical disks into the system only after installing the system in the rack.
Installing the system in the rack with the physical disks installed can damage the disks or cause
injury.
CAUTION: Before installing your system in the rack, ensure that the weight of the system does
not exceed the rack's weight limit. For more information, see the Rack Installation Instructions
that shipped with your system.
NOTE: For weight stability, always load the rack from the bottom up.
Figure 1. Installing the System in a Rack
Unpack your system and identify each item.
Assemble the rails and install the system in the rack following the safety instructions and the rack
installation instructions provided with your system.
3