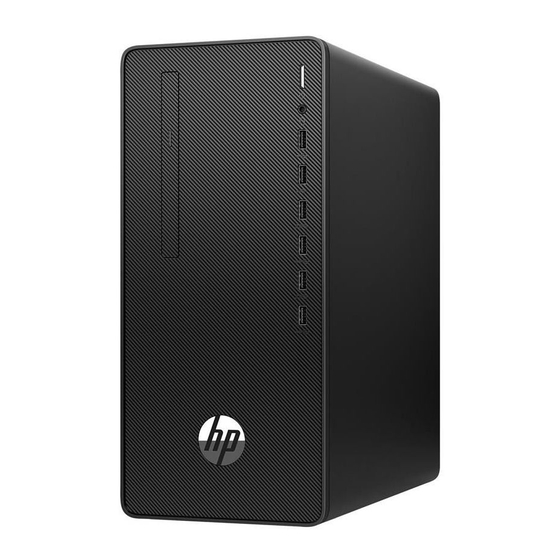
HP 285 G6 Microtower PC ENERGY STAR Инструкции по разборке изделия в конце срока службы - Страница 2
Просмотреть онлайн или скачать pdf Инструкции по разборке изделия в конце срока службы для Настольный компьютер HP 285 G6 Microtower PC ENERGY STAR. HP 285 G6 Microtower PC ENERGY STAR 7 страниц.

Item Description
already listed as a separate item above)
Components and parts containing toner and ink,
including liquids, semi-liquids (gel/paste) and toner
Components and waste containing asbestos
Components, parts and materials containing refractory
ceramic fibers
Components, parts and materials containing
radioactive substances
2.0 Tools Required
List the type and size of the tools that would typically be used to disassemble the product to a point where components and
materials requiring selective treatment can be removed.
Tool Description
Hexagon Screw Driver
Crisscross Screw Driver
Electric Iron
3.0 Product Disassembly Process
3.1 List the basic steps that should typically be followed to remove components and materials requiring selective treatment
including the required steps to remove the external enclosure:
1. Use T-15 screw driver to loose the screws
2. Open access panel
3. Remove front bezel from chassis
4. Use T-15 screw driver to loose the screws and remove the iron
5. Disconnect ODD power cable and ODD SATA cable from ODD
6. Press the ODD's latch on ODD cage and Remove the ODD from ODD cage
7. Use T-15 screw driver to loose the screws of iron plate and remove the iron plate of ODD
8. Remove memory from MB
9. Use T-15 screwdriver to loose the screws and remove cooler
10. Use PH1 screwdriver to loose the screws and remove the fan
11. Separate the fan from cooler
12. Rotate the handle and open it up
13. Remove the CPU from the board
14. Use PH1 screwdriver to loose the screws and press the Graphic card s latch and unplug Graphic card
15. Disconnect system fan cable from MB
16. Use PH1 screwdriver to remove system fan from chassis
17. Remove system fan from chassis
18. Disconnect all cables from MB
19. Use PH1 screwdriver to loose the screws and remove the HDD
20. Use PH1 screwdriver to loose the screws and remove the SSD
21. Use PH1 screwdriver to loose the screws and remove the WLAN card
22. Use T-15 screwdriver to loose the screws of MB from board and remove the MB
23. Use PH1 screwdriver to loose the screws and remove speaker from Chassis
24. Use PH1 screwdriver to loose the screws and remove Antenna from Chassis
25. Use PH1 screwdriver to loose the screws and remove PSU from Chassis
EL-MF877-00
Template Revision C
Last revalidation date 09-May-2018
Notes
Include the cartridges, print heads, tubes, vent
chambers, and service stations.
HPI instructions for this template are available at
EL-MF877-01
Quantity of
items
included in
product
Tool Size (if
applicable)
T-15
PH1
QUICK 310
Page 2
