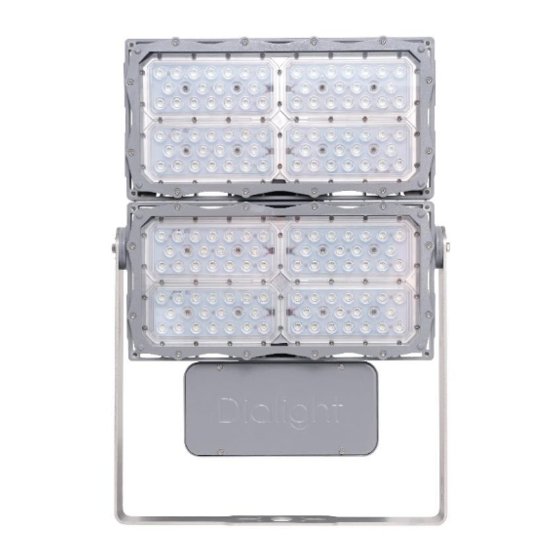
Dialight ProSite CIII Инструкции по установке и эксплуатации - Страница 4
Просмотреть онлайн или скачать pdf Инструкции по установке и эксплуатации для Заливающий свет Dialight ProSite CIII. Dialight ProSite CIII 9 страниц. For cid2/ciid2/ciii

2. Slightly tighten the set screws of the pole
base but do not torque yet.
3. Ensure there is at least 6 in. [15.24cm] of
source wire conductor beyond the cord grip
and tighten the cord grip.
Torque: 5 ft-lbs [6.8 N-m]
4. Ensure that cord grip has sealed around
outer jacket of source wire. A slight tug on the
source wire will indicate if the cord grip has
gripped the source wire.
5. Feed the source wire conductor through
the opening of the pole base and slide the
pole base onto the mounted hazardous pole
base (on the application pole).
6. Tighten the 3x 5/16 side bolts of the top
base into the mounted pole base.
Torque: 5 ft-lbs [6.8 N-m]
9100FLM00901 REV A
Page 4 of 9
ProSite Floodlight for CID2/CIID2/CIII
7. Feed the source wire conductors into the
junction base mounted on the luminaire and
engage the junction base with the mounted
pole base.
8. Engage the captive pivot 7/16 hex bolt of
the junction base into the pole base to
secure the luminaire, but do not yet torque as
to still allow the luminaire to tilt for light pattern
aiming.
9. Tilt and turn the luminaire to desired
position on the application pole to illuminate
the desired area.
10. Once the luminaire is at the desired
position, tighten the pivot hex bolt.
Torque: 11 ft-lbs [14.9 N-m]
11. Tighten the set screws of the hazardous
pole
base
application pole.
Thread locker is recommended.
Torque: 5 ft-lbs [6.8 N-m]
Opening/Closing the Luminaire
This luminaire has 2 lids, a driver enclosure lid
and front access lid. Both lids are retained by
captive bolts and offer a combination head
style for ease of entry. The front access lid is
used for wiring the luminaire for bracket
models while slip fitter models do not use the
front access lid.
Bracket Models: F********(E/F)****
Loosen the 4x screws and remove the lid to
gain access to the terminal blocks for wiring.
When wiring is complete, reattach the lid,
and tighten screws back down.
Torque: 30 in-lbs [3.4 N-m]
4x Captive Bolts
NOTE: The lid is secured to the wiring box via
a lanyard; eliminating risk of dropping the
lid upon removal.
NOTE: The lid of the luminaire should be
oriented as shown above. The Dialight logo
should be aligned with the mounting bracket.
Dialight, 1501 Route 34 South, Farmingdale, NJ, USA 07727
Tel: +1 732 919 3119 Fax: +1 732 751 5778
to secure position on
the
www.dialight.com
