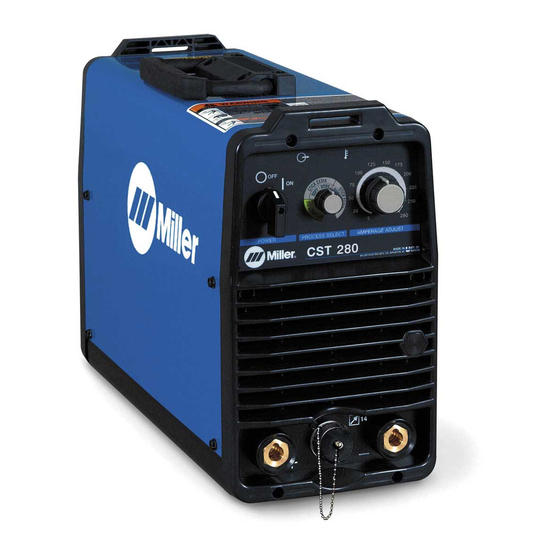
Miller CST 280 Руководство пользователя - Страница 33
Просмотреть онлайн или скачать pdf Руководство пользователя для Сварочная система Miller CST 280. Miller CST 280 48 страниц. Dual rack kit
Также для Miller CST 280: Руководство пользователя (28 страниц)
Repeated LED Flashes Indicate
Status
Blue
Yellow
5
0
2
2
0
0
3
0
On
On
0
0
continuously
Flashes
0
continuously
N/A
N/A
N/A
N/A
N/A
N/A
N/A
N/A
N/A
N/A
N/A
N/A
Red (LED3
Trouble
on PC3)
11
No weld output.
Reduced weld
Reduced weld
6
6
output.
10
3
No weld output.
5
0
2
No weld output.
4
9
Fan not operat
Fan not operat-
N/A
N/A
ing.
Erratic or im
Erratic or im-
proper weld
N/A
output.
N/A
Wandering arc.
Tungsten elec-
trode oxidizing
and not remain-
N/A
N/A
ing bright after
ing bright after
conclusion of
weld.
Possible Causes
Vfb leads not connected
or reversed.
Short circuit across out-
Voltage loss.
put studs.
Failed IGBT on PC2.
Single phase rating ex-
Output fold-
ceeded.
back due to
back due to
excessive in-
High output VA coupled
put current.
with a low 230V line.
Remote trigger has been left on.
Primary (IGBT) thermis-
tor over temperature.
Unit over
Unit over-
heated.
Secondary thermistor
over temperature.
Shorted primary (IGBT)
thermistor.
Open primary (IGBT)
thermistor.
Thermistor
Open secondary thermis-
failure.
tor.
Shorted secondary
thermistor.
Blocked fan.
Fan failure.
Weld cables too small or defective.
Dirty or loose connections.
Improper tungsten.
Worn or defective tungsten.
Gas flow too high.
Gas is blown away from weld zone.
Inadequate postflow time.
Loose or leaking gas fittings.
Water in torch.
Remedy
Check Vfb leads for proper wir-
ing and connection.
Check for shorts.
Check PC2 and replace if nec-
essary.
Reduce output to 200 amperes
or less.
Check line voltage and weld
settings.
Remove trigger, wait approxi-
mately 5 seconds, and restart.
Allow unit to cool down.
Retorque PM1, PM2, and PM3
Retorque PM1, PM2, and PM3
mounting hardware to 25 in lbs
(2.8 NSm).
Check IGBT thermistors for
shorts.
Check IGBT thermistors and
associated wiring for opens.
Check thermistor on output
heatsink and associated wiring
for opens.
Check thermistor on ouput heat-
sink and associated wiring for
shorts.
Check for and remove anything
blocking fan movement.
Have factory authorized service
agent check fan motor.
Use proper size and type of
weld cables (see Section 3-8).
Clean and tighten all weld cable
connections (see Section 3-9 or
3-10).
Use proper size tungsten (see
Section 7-1).
Use properly prepared tungsten
(see Section 7-3).
Reduce gas flow rate (see Sec-
tion 3-9).
Shield weld zone from drafts.
Allow adequate postflow time to
shield tungsten while it is cool-
ing after welding stops.
Check and tighten all gas fit-
tings (see Section 3-9).
Refer to torch manual.
OM-217 655 Page 29