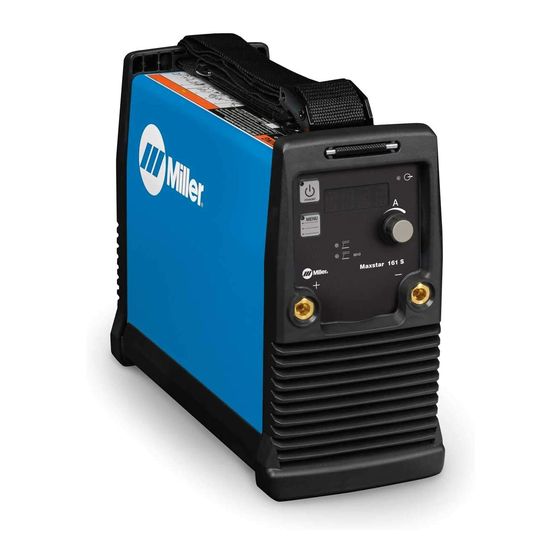
Miller Maxstar 161 STH Руководство пользователя - Страница 26
Просмотреть онлайн или скачать pdf Руководство пользователя для Сварочные принадлежности Miller Maxstar 161 STH. Miller Maxstar 161 STH 44 страницы. Arc welding power source with auto-line

6-1. Front Panel Controls And Gas Connection
11
12
.
Represents a message that displays, scrolls
and repeats.
1
Ready Light (LED)
Light comes on approximately two seconds af-
ter power switch is placed in On (I) position if
Lift-Arc On or Stick has been selected. If TIG
Impulse is selected, ready light comes on only
after output is enabled. The light indicates that
the unit is energized and ready for welding. A
flashing light indicates unit is not ready, or that
there is a functional error.
.
The
fan
motor
is
controlled.
6-2. Process Selection (STL Model Only)
2
1
Press
OM-275099 Page 22
.
A complete Parts List is available at www.MillerWelds.com
SECTION 6 − OPERATION
9
10
8
2
Amperage Adjustment Control
This control adjusts welding amperage.
3
Process Select Button
See Section 6-3.
4
Positive Weld Output Receptacle
For Stick welding, connect electrode cable to
this receptacle. For TIG welding, connect work
cable to this receptacle.
5
Negative Weld Output Receptacle
thermostatically
For Stick welding, connect work cable to this
receptacle. For TIG welding, connect torch
cable to this receptacle.
6
Remote Receptacle
For TIG Impulse or Lift-Arc TIG, output may be
adjusted from min to max of the front panel set-
ting with a remote control.
=Light On
=Light Off
3
4
1
1
Press
7
3
4
6
.
Represents a particle message that flashes, dis-
plays the remainder of the message, and then re-
8
peats.
7
Place switch in On or Off position as needed.
8
9
Fittings have 5/8-18 right-hand threads (3/8-19
BSPP on CE units).
10 Cylinder Valve
Open valve slightly so gas flow blows dirt from
valve. Close valve.
11 Regulator/Flowmeter
12 Flow Adjust
Typical flow rate is 15 cubic feet per hour (7.1
liters per minute) at a maximum of 90 psi (621
kPa).
Connect customer supplied gas hose between
regulator/flowmeter and gas fitting .
Press
Ref. 803375-A / 273310-A
Power Switch
Parameter Display
Gas Fitting
1
Process Selector Button
Use control to select required welding
process. Press Button until LED for de-
sired process is illuminated.
2
Lift Arct Start
When selected, a TIG arc starting meth-
od in which the electrode must come in
contact with the workpiece to initiate an
arc is activated (see Section 6-5).
3
Stick (SMAW)
When selected, Adaptive Hot Start ,Stick
Stuck, and DIG circuitry are energized.
4
Stick 6010 (SMAW)
When selected, Adaptive Hot Start ,Stick
Stuck, and DIG circuitry are energized.
Parameters are optimized to run a 6010
Stick electrode.
1
8
2
5
