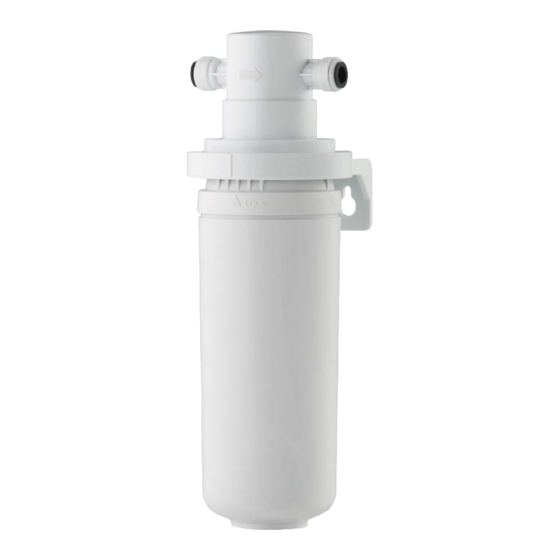
Aquaport AQP-FKW Руководство - Страница 9
Просмотреть онлайн или скачать pdf Руководство для Системы фильтрации воды Aquaport AQP-FKW. Aquaport AQP-FKW 16 страниц. Full flow water filtration system

FILTER REPLACEMENTS
Cartridge
System
Replacement
Model
Pack Model
AQP-FKW
AQP-RFW
* Filter cartridge life varies depending on water quality. Your cartridge may need
replacing earlier than 12 months if you notice a reduction in volume or flow from
the filter faucet, or return of an unpleasant taste/odour to the filtered water.
1. Isolate water supply. Turn cold tap on to release any
excess water still present in system.
2. Remove new filter cartridge from packaging.
3. Remove expired filter cartridge from system,
by turning the filter cartridge (1) to the left a
1/4 turn and pull down.
4. Insert new filter cartridge (1) back into the filter head
(2a) and rotate towards the right a 1/4 turn to lock
filter into place. Ensure that the 'LOCK' arrow located
in the middle of the filter cartridge corresponds with
the downward arrow on the filter head.
Cartridge
Cartridge
Replacement
Service Life
Name
Replace
Replacement
every 12
Filter for
months or
Full Flow
10,000 litres,
Water Filter
whichever
occurs first*
5. Turn cold tap to 'ON' position. Turn water supply 'ON'
slowly at isolation tap or water meter. Note- air may
be purged from the filter system at this time.
6. Check for any leaks and fix if necessary.
7. Leave tap on to allow water to flush through the
system for approximately 5 minutes. You may wish
to collect the water for use in the garden.
Note: Tiny air bubbles being expelled from the cartridge will
cause the water supply to appear "cloudy", this is normal.
This condition will clear itself over use, or you may flush water
through the system until water appears clear.
8. Your Aquaport water filtration system is now ready to
produce refreshing, great tasting water for you and
your family.
Note: Use only cartridges suitable for this appliance. Please
check system again the next day after installation for any leaks.
INSTALLATION AND OPERATING INSTRUCTIONS 7
