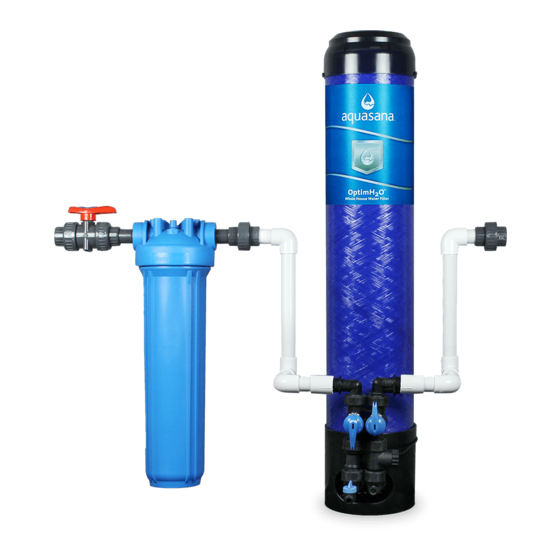
Aquasana OptimH2O AQ-RO-3 Руководство пользователя - Страница 2
Просмотреть онлайн или скачать pdf Руководство пользователя для Системы фильтрации воды Aquasana OptimH2O AQ-RO-3. Aquasana OptimH2O AQ-RO-3 14 страниц. Whole house water filter
Также для Aquasana OptimH2O AQ-RO-3: Руководство пользователя (11 страниц), Руководство пользователя (10 страниц), Руководство пользователя (16 страниц)

WARNING:
Using
a
qualified installer is recommended.
/jj\
Proper installation is the responsibility of the installer.
/g\
Product failure due
to
improper installation is
not
covered under the
warranty.
NOTE:
Keep these instructions
forfuture reference
PLAN FOR INSTALLATION
Prior
to
installation, we recommend you read the entire manual
to
familiarize yourself with the
system,
and help you determine the best location for installation. Please check and comply with
all local plumbing codes.
PREPARE SITE FOR INSTALLATION
NOTE:
If
you have
metal drain pipes, consult
a
plumber
for
installation
of
drain connection.
i.
Prior
to
installation,
close the cold
water
shut off valve.
2.
Temporarily place
system
manifold, remineralizer, and
tank into the under sink cabinet
or
desired location
to ensure
adequate
space and proper positioning.
3. %"
white tubing will be used
to connect
manifold
to
tank, and from faucet
stem to
remineralizer. Measure
out
%"
white tubing from the
top
of the tank
to
the outlet side of the
system
manifold and mark
Vs"
tubing. Then
measure remaining
length of
Ve"
tubing from the
remineralizer
to
the desired location of the faucet hole
to
ensure
there will be enough
Vs"
tubing available for both
connections. Wait
to cut
tubing and follow
instructions
below.
4. Remove
system,
remineralizer, and tank from under
your
sink
to
begin installation.
INSTALLATION OVERVIEW
Step
1
-
Install
Brass Tee Fitting
Step
2
-
Install
RO System
Manifold
Step 3
-
Install
Water Storage
Tank
Step 4
-
Install
RO Faucet
Step 5
-
Install
RO Drain Connector
Step 6
-
Connect
Tubing
Step 7
-
Stage 1-3
Filter Installation
Step 8
-
Sanitize, Pressure Test, Purge System
Q
4s
aqua-
ana
©
1
IH)
©
©
©
©
a
©
HOT
COLD
©
