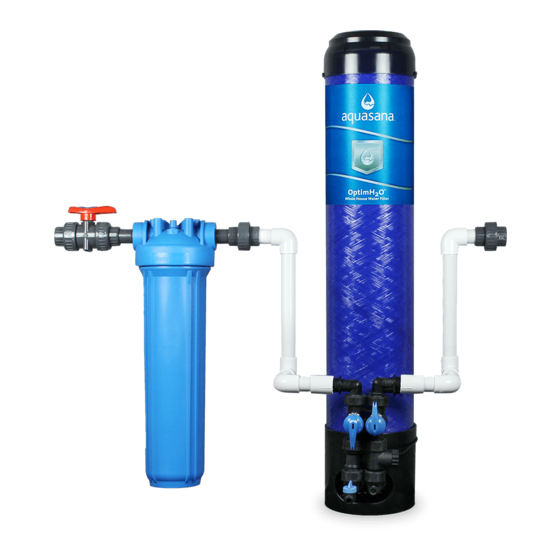
Aquasana OptimH2O AQ-RO-3 Руководство пользователя - Страница 3
Просмотреть онлайн или скачать pdf Руководство пользователя для Системы фильтрации воды Aquasana OptimH2O AQ-RO-3. Aquasana OptimH2O AQ-RO-3 11 страниц. Whole house water filter
Также для Aquasana OptimH2O AQ-RO-3: Руководство пользователя (14 страниц), Руководство пользователя (10 страниц), Руководство пользователя (16 страниц)

1 — INSTALL BRASS TEE FITTING
1 Turn off the cold water supply to the sink.
2 Turn on the kitchen faucet to release pressure and allow water to drain from the line.
3 Disconnect the cold water line from the 1/2" threaded stem on the bottom of the kitchen
faucet. Attach threaded ends of supplied brass tee to the cold water supply line and shut-off
valve; tighten using an adjustable wrench.
4 Attach 1/4" white tube to the brass tee:
A
B
A. Slide the compression nut onto the white tubing.
B. Slide the plastic sleeve onto the white tube.
C. Place brass insert into the opening of white tube.
D. Push the tip of the white tubing into the opening of the brass tee.
E. Slide the compression nut onto the threads of the brass tee.
F. While holding the white tube in place, tighten the compression nut to compress the plastic
sleeve and create a seal. NOTE: Use a wrench to ensure complete seal. Avoid over tightening.
5 Do not connect the other end at this time.
3 — INSTALL WATER STORAGE TANK
Optim H2O™
C
D
E
1 On the nipple on top of the tank, apply plumber's
tape 4 or 5 times clockwise around in the same
direction as the threads.
2 Hand tighten the tank connector onto the tank
nipple until secure. NOTE: Do not cross thread or
over tighten.
3 Using mount stand, place tank near the system
manifold. Measure 3/ 8 " white tubing to the outlet
side of the system manifold and ensure you
have enough tubing to connect tank and system
manifold as well as enough left to attach faucet
stem and remineralizer. Cut 3/ 8 " white tubing.
2 — INSTALL SYSTEM MANIFOLD
1 Select an easily accessible area under the sink to mount system
manifold and remineralizer holder. You want to allow at least a 4
to 6 inch clearance below the filters to the floor to allow ample
space for filter changes. To help gauge the right location for your
system manifold, insert first and third stage filter sumps into
manifold. Insert sumps by aligning top connection points and
push up and to the right until sumps are locked in.
F
Stage
RO Membrane
OptimH2O™
AQ-RO3-RO
4 Insert mounting screws into the wall leaving approximately 3/ 8 " of each screw exposed.
5 Remove first and third filter sumps from manifold by turning each sump to the left and
pulling down before hanging manifold on wall. Mount manifold on wall and screw in. Be
careful not to over tighten.
6 Screw in remineralizer holder onto wall.
4 Install the 3/ 8 " white tubing to the tank:
A. Push the tubing through the nut, collar and sleeve into the connector.
B. Unscrew the compression nut from the tank connector to ensure that the tubing is
connected all the way through the collar and sleeve.
C. Slide the nut to the threads and tighten with a wrench. Avoid over tightening.
A
2
1
2 Mark wall placement for mounting screws using
built-in bracket on back of manifold. Make sure holes
are as level as possible. Mark screw placement of
the remineralizer holder 1 or 2 inches from the third
stage sump to the right of the manifold.
3 Drill two pilot holes for mounting brackets using 1/ 8 "
drill bit for the system manifold. NOTE: Use caution
not to drill into anything beyond the cabinet wall.
B
C
