4. You switch to the normal (OFF) shutter speed or
to slow shutter.
5. You switch between the progressive and normal
(60i) modes.
You can do both black balance and white balance at
the same time by holding the AWB button down for
a couple of seconds. When the black balance setting
is being adjusted you'll see ABB ACTIVE on the
view nder, followed by ABB END when the process
is complete.
Auto tracking white balance (ATW)
Using the ATW function enables the camera to
automatically determine the white balance setting for
the current shooting conditions. is is not the best
way to assure the best color reproduction, but in fast
changing lighting conditions, you might not have a
choice. You can allocate the ATW mode to one of the
positions on the WHITE BAL switch (A, B, or
PRST). You can accomplish this by going to the SW
MODE setup menus and set the ATW feature. e
ATW feature is set to work in the auto mode when
the camera is new (factory preset) but it's probably
been changed. e white balance sensor is located on
the front of the camera's built-in microphone
housing. If lighting falls on this sensor, or you block
the sensor, ATW will not work properly.
Menu Functions
e only reason to go into the menu is for changes in
the functionality of the camera. ere is no need to
use the menu for basic shooting if you are happy with
the camera defaults or how it was set up before you
started using it. However, if someone was in the
menus messing around, they might have set things
you don't want.. If the camera is ever functioning in a
manner inconsistent with this handout, it's possible
that there's a menu setting that has been changed.
Consult the user's manual for speci c details on
adjusting the various menu settings.
Menu
When the unit is in other than playback or recording
mode, press the MENU button to enter the camera
menus. In the menu mode you push the "operation
level" up, down, right, and left to choose setting
options, and then push it to con rm your choice.
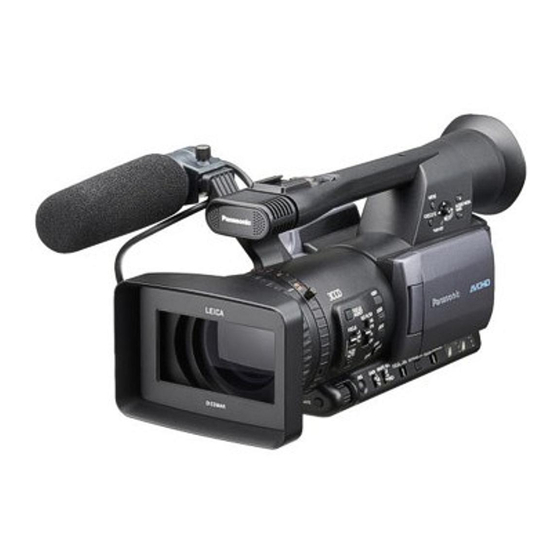
Introduction to the Panasonic AG-HMC150 AVCHD camcorder (rough draft)
Menu Options
Camera Mode
1. Scene File (changes look-related settings for each of
the scene le dial settings)
2. SW Mode (adjust functionality of various camera
features including gain, iris, handle zoom, etc.)
3. Auto SW (adjust functionality of automatic mode)
4. Record Setup (adjusts recording settings, e.g. video
and audio modes)
5. TC/UB Setup (adjusts things related to time code
and user bits)
Playback mode
1. Play Setup
2. umbnail Setup
3. Operation
4. SW Mode
5. AV Out Setup
Scene File Settings
is dial has setting designed for various shooting
conditions. When shooting the needed le can be
quickly loaded using this dial.
Scene File Dial Settings
F1. Scene: Standard Settings (start with this one)
F2. Scene Flou: Indoor shooting under uorescents
F3. Scene Spark: Increases color, detail, and contrast
F4. Scene B-STR: Enhanced gradation in dark areas,
good when shooting things like sunsets.
F5. Scene Cine-V: Provides a lm-like gamma where
the contrast is emphasized. (Note: the actual
recording format remains unchanged, it must be set
using the REC FORMAT item on the
RECORDING SETUP screen (see Page 91 of the
camera manual).
F6. Scene Cine-D: Provides a lm-like gamma where
the dynamic range is emphasized. (Note: the actual
recording format remains unchanged, it must be set
using the REC FORMAT item on the
RECORDING SETUP screen (see Page 91 of the
camera manual).
e scene le settings can be reprogrammed:
To save a scene le to re ect your own settings, select
the one you want to save with the scene dial. en
make your changes to the scene settings. en in the
http://kino-eye.com/dvb/
12 / 35

