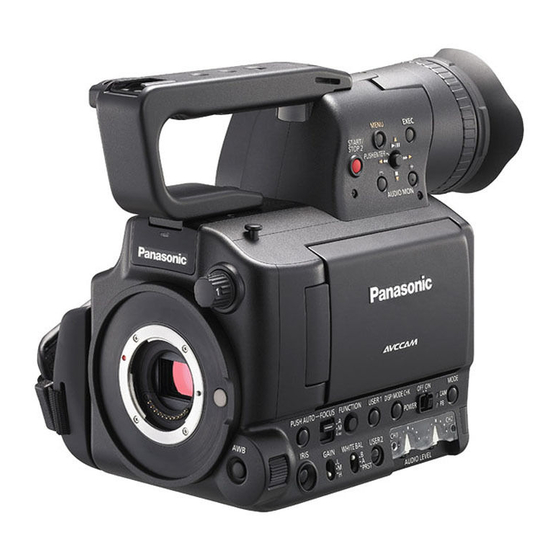
Panasonic AG-HMC40PJ Руководство - Страница 12
Просмотреть онлайн или скачать pdf Руководство для Видеокамера Panasonic AG-HMC40PJ. Panasonic AG-HMC40PJ 14 страниц. Editing avchd with imovie 09
Также для Panasonic AG-HMC40PJ: Руководство пользователя (7 страниц), Руководство (19 страниц), Руководство (18 страниц), Руководство (13 страниц)

sTeP #3 – CReaTe blU-RaY DIsC
Click on Create Blu-ray disc. This opens a slide out panel where you enter your output device (where you will burn your
disc). Note: you will need an external Blu-ray burner to burn Blu-ray. However, you can burn an AVCHD disc (which is a
visit:
www.apple.com/support/finalcutpro
Note: Remember that this exporting is a background process, so you can continue working.
ouTpuTing To sTAnDArD DefiniTion DVD
Even though you have shot your material on high definition and edited it in HD, you still might need to downconvert it to
standard definition to show your movie. AVCHD footage will make dazzling standard definition DVDs. And as always, it is
very easy in FCP 7.
sTeP #1 - ClICk on fIle > sHaRe
duration-limited Blu-ray image on standard DVD
media, using the Mac's internal DVD/Super Drive).
You are limited to 20 minutes of AVCHD footage
on a DVD-5 disc and 40 minutes on a DVD-9
disc. The AVCHD disc will play High Definition in
a Blu-ray player.
You can also create this Disc image to your hard
drive for later burning, or as a disk image backup.
Here you also can do some elementary Blu-ray
authoring. FCP 7 even includes some templates
for menus.
sTeP #4 – ClICk eXPoRT
That's all there is to it. Your movie will now burn
as a Blu-ray or AVCHD disc.
For more information on AVCHD discs, please
12
