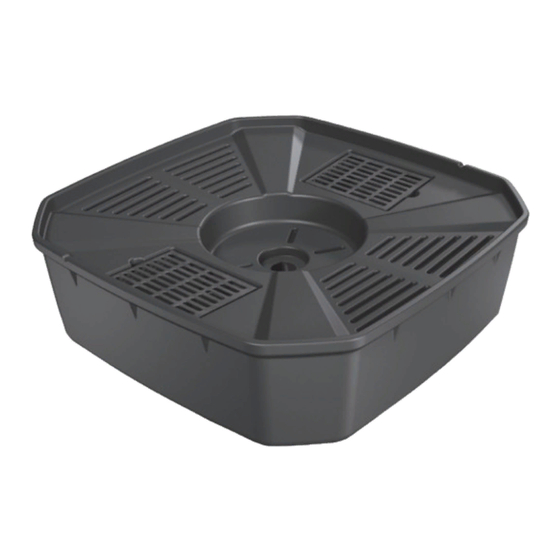
AquaScape AquaBasin 98135 Руководство по установке и обслуживанию - Страница 3
Просмотреть онлайн или скачать pdf Руководство по установке и обслуживанию для Открытый фонтан AquaScape AquaBasin 98135. AquaScape AquaBasin 98135 12 страниц.

How to Assemble the AquaBasin
90° Barbed
Elbow
Assemble the pump as show in photo above.
Attach the tubing to the fittings with the
supplied hose clamps.
How to Hook Up a Stone Fountain
1) The AquaBasin
is designed with two
™
removable grates for easy pump access.
Connect the tubing to the Ultra pump and
ball valve using the clamps supplied from
the AquaBasin
Ultra
™
#98136, #98137, #98138, or #98377 sold
separately) and then place the pump and
plumbing inside the AquaBasin
from the pump can be run out the notch in
the side of the AquaBasin
2) The AquaBasin
is designed with several holes in the recessed area. This gives you the
™
option of running the tubing to the most convenient location. If you are not using the center
hole, cover it up with a few 3"-4" stones so that smaller gravel will not fall through.
3) Next, carefully place the stone fountain in the center of the AquaBasin
tubing through the hole in the fountain. The AquaBasin
recessed area in the middle. Depending on the decorative piece being used, this recessed
area will allow you to backfill with gravel around the decorative piece giving it a more
stable platform to sit on. It is recommended that tall or oddly shaped pieces be set
in the middle and backfilled with gravel, or shimmed with larger pieces of stone to
prevent the piece from falling over. Concrete can also be used around the base of the
stone fountain to further stabilize it. (Fig. 8)
4) If you do not have to backfill around the decorative piece simply fill the recessed area
in with gravel in order to make the fountain level with the top of the basin. (Fig. 9)
Ball Valve
Pump Kit (items
™
. The cord
™
. (Fig. 6 & 7)
™
Fig. 6
Ultra
Pump Kit
™
™
FPT x Barb
Fitting
is designed with an 18" wide
™
Fig. 7
Ultra Pump
Threaded Adapter
and feed the
™
Fig. 8
3
