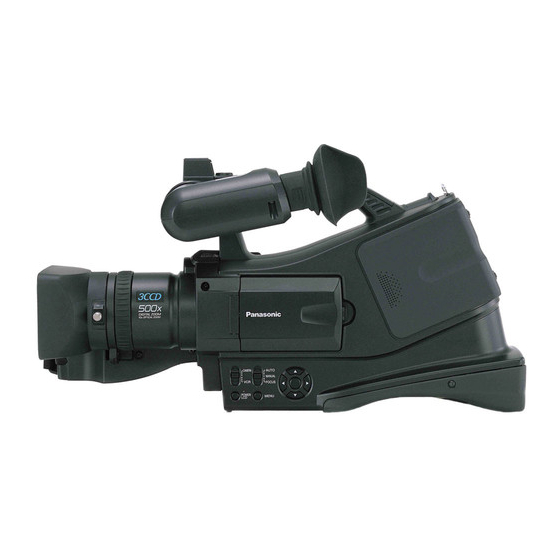
Panasonic AGDVC20P - 3 CCD DV CAMCORDER Руководство по эксплуатации - Страница 9
Просмотреть онлайн или скачать pdf Руководство по эксплуатации для Видеокамера Panasonic AGDVC20P - 3 CCD DV CAMCORDER. Panasonic AGDVC20P - 3 CCD DV CAMCORDER 40 страниц. Agmini-dv camera/recorder
Также для Panasonic AGDVC20P - 3 CCD DV CAMCORDER: Руководство по эксплуатации (42 страниц), Руководство по эксплуатации (42 страниц)

DVC20_Eng.book 9 ページ 2005年10月31日 月曜日 午前10時36分
Using the viewfinder
ª
Using the viewfinder
1
Pull out the viewfinder and turn it upward/downward by
pinching the viewfinder extension knob.
ª
Adjusting the field of view
1
Adjust the focus by sliding the eyepiece corrector knob.
12:30:45PM
12:30:45PM
12:30:45PM
OCT 15 2005
OCT 15 2005
OCT 15 2005
≥You can adjust the brightness of the viewfinder from the
menu.
Before using
Power supply
ª
Charging the battery
When this product is purchased, the battery is not charged.
Charge the battery before using this product.
≥Battery charging time (
≥We recommend using Panasonic batteries.
≥If you use other batteries, we cannot guarantee the quality of
this product.
≥If the DC input lead is connected to the AC adapter, then the
battery will not get charged. Remove the DC input lead from
the AC adapter.
1
Connect the AC mains lead to the AC adapter and the AC
mains socket.
2
Put the battery on the battery mount by aligning the
mark, and then securely plug it in.
ª
Charging lamp
Lights up: Charging
Goes off:
12:30:45PM
OCT 15 2005
Flashing:
ª
Connecting to the AC outlet
1
Connect the AC mains lead to the AC adapter and the AC
mains socket.
2
Connect the DC Input Lead to the [DC IN] Socket on the
camera-recorder.
3
Connect the DC input lead to the AC adapter.
≥The output plug of the AC mains lead is not completely
connected to the AC adapter socket. As shown in 1, there
is a gap.
≥Do not use the power cord for other equipment since the
power cord is exclusively designed for the camera-
recorder. Or do not use the power cord of other equipment
for the camera-recorder.
CAUTION:
This unit will operate on 110/120/220/240V AC.
An AC plug adapter may be required for voltages other than
120V AC.
If a conversion plug is required, consult with your dealer as
to which one is to be purchased.
)
-10-
Charging completed
The battery is over discharged (discharged
excessively). In a while, the lamp will light up and
normal charging will start.
When the battery temperature is excessively high
or low, the [CHARGE] lamp flashes and the
charging time will be longer than normal.
DC IN 7.9V
1
9
