AquaScape 43020 Инструкции по установке и обслуживанию - Страница 6
Просмотреть онлайн или скачать pdf Инструкции по установке и обслуживанию для Фильтр для плавательного бассейна AquaScape 43020. AquaScape 43020 16 страниц. Pond skimmer
Также для AquaScape 43020: Инструкции и обслуживание (16 страниц), Инструкции и обслуживание (16 страниц)

STEP 5
ADD ROCK AND GRAVEL
NOTE: You can expect to use several tons of stone and
gravel for your water feature. Talk to your Aquascape
retailer or rock yard for help choosing the quantity and
sizes of stone and gravel. Visit aquascapeinc.com for
information on calculating the required stone and gravel.
Below are some helpful formulas for choosing the stone
and gravel.
Stone Calculation for the Pond
Length x Width / 65 = Tons of boulders
Gravel Used in the Pond
Pond Gravel = 30% total tons of pond boulders
• Start from the bottom and set the largest character
boulders first against the vertical walls, then stack the
smaller boulders on top (Ex. 17).
• Be careful when placing any large boulders so you don't
damage the liner.
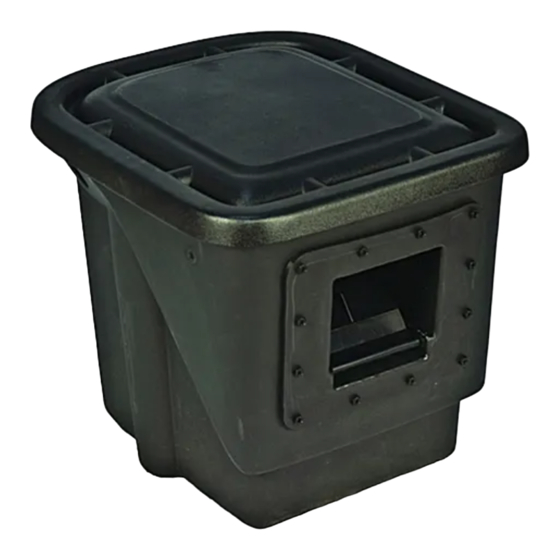
• The opening on the front of the skimmer can be hidden
by placing boulders on either side and bridging a stone or
piece of driftwood across, creating a cave effect.
NOTE: Make sure the boulders do not block the water
flow into the skimmer.
• Cover all remaining flat surfaces with a couple inches of
decorative gravel. This will help lock the boulders in place,
as well as cover the remaining liner, protecting it from
ultraviolet rays, and giving bacteria a place to colonize.
6
WASH ROCKS AND GRAVEL
• Using a garden hose, wash the rock and gravel down in
order to remove the dust and dirt. Use the pump provided
with the kit attached to a scrap section of kink-free pipe.
The pump can temporarily be placed in the lowest point
of the pond and the dirty water discharged to a drainage
area in the yard.
STEP 6
COMPLETE THE SKIMMER INSTALLATION
• The skimmer has two holes on either side of the unit for
the plumbing to travel to the BioFalls
plumbing hole that is most convenient. The pipe simply
passes through the opening on either side of the skimmer.
• The pump's electrical cord can be run through either hole
provided in the side of the skimmer.
• Insert the barbed multi-hose adapter included with the
pump onto the end of the pipe and tighten down hose
clamp. Thread the end of the pipe onto the rotational ball
fitting attached to the pump and lower into the skimmer.
Ex. 17
STEP 7
OPTIONAL OVERFLOW INSTALLATION
• Attach and trench a section of kink-free pipe into place (3'
minimum). Create a drainage area at the end of the pipe
by excavating a small pit, roughly 16" in diameter and at
least 12" deep. Fill the
pit with excess gravel.
This will allow water in
an overflow situation to
flow through the pipe
and drain away from the
pond (Ex. 18).
☎
☎
US (866) 877-6637 |
1000. Choose the
®
CAN (866) 766-3426 | aquascapeinc.com
Ex. 18
