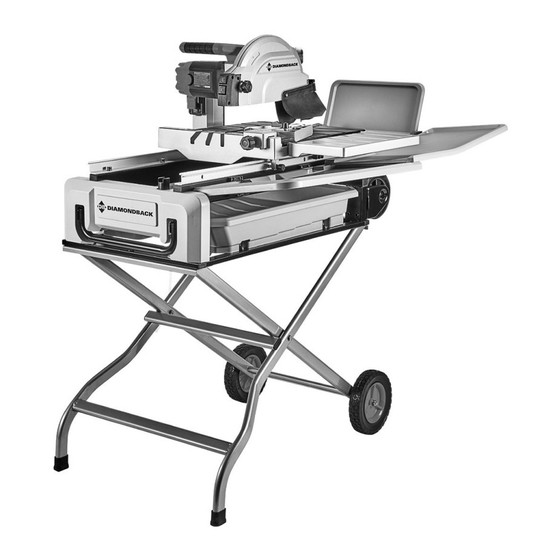
Diamondback 58477 Руководство пользователя и инструкции по безопасности - Страница 5
Просмотреть онлайн или скачать pdf Руководство пользователя и инструкции по безопасности для Пила Diamondback 58477. Diamondback 58477 8 страниц. Tile saw stand

Mounting 7" Saw to Stand
WARNING! TO PREVENT SERIOUS
INJURY: Turn the Power Switch of the tile
saw to its "OFF" position, remove its key,
and unplug the tool from its electrical
outlet before mounting to stand.
1.
Lock the Toggle Table Stop by
pulling up on it and turning it until
the slot in the center of the Stop
is horizontal (left to right).
2.
Pull the Table to the front of the Frame.
From under the right side of the Table,
align the hole in the rail with the pin
in the Table Lock Lever. Push the
pin into the rail, locking the Table.
Power Switch
& Key
Stand Bracket
(from Tile Saw
hardware)
ST4.8 x 1 3
Screw (from
Tile Saw
hardware)
Item 58477
For technical questions, please call 1-888-866-5797.
3.
Attach two Stand Brackets, from Tile
Saw hardware, to ends of Water Tray
using two ST4.8 x 13 Screws, from
Tile Saw hardware, per Bracket.
4.
With assistance, place Saw on Stand.
Align the holes on the Water Tray
Frame with the holes on the Stand.
5.
Secure Stand Brackets to
Stand with two Bolts M8x20 (4),
two Washers M8 (3),
two Flat Washers M10 (9),
and two Lock Nuts M8 (12).
Tighten Lock Nuts securely.
WARNING! TO PREVENT SERIOUS
INJURY: If the Saw does not mount
securely and completely to this Stand,
do not use it with this Stand.
Table
Lock
Lever
Toggle
Table
Stop
Bolt
M8x20 (4)
Washer
M8 (3)
Lock Nut
M8 (12)
Page 5
