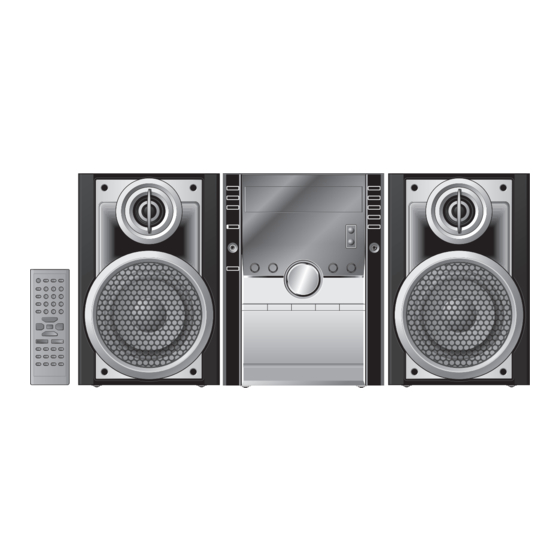
Panasonic SA-AK450 Руководство по эксплуатации - Страница 16
Просмотреть онлайн или скачать pdf Руководство по эксплуатации для Стереосистема Panasonic SA-AK450. Panasonic SA-AK450 20 страниц. Matsushita electric indu user guide home stereo system sc-ak450
Также для Panasonic SA-AK450: Руководство по эксплуатации (28 страниц)

External unit (continued)
Recording from a USB mass
Recording from a USB mass
storage class device
storage class device
1
Press [4,
desired track for recording.
2
Press [¶, REC] on the main unit to start recording.
Compatible devices
Compatible devices
Devices which are defi ned as USB mass storage class:
• USB devices that support bulk only transfer.
• USB devices that support USB 2.0 full speed.
Supported format
Supported format
Files must have the extension ".mp3" or ".MP3".
Note:
• CBI (Control/Bulk/Interrupt) is not supported.
• A device using NTFS fi le system is not supported [Only FAT 16/32
(File Allocation Table 16/32) fi le system is supported].
• Depending on the sector size, some fi les may not work.
• This unit can access up to 255 albums (including blank folders)
and 2500 tracks.
• The maximum number of tracks in a folder are 999 tracks.
• Only one memory card will be selected when connecting a
multiport USB card reader. Typically the fi rst memory card
inserted.
• Disconnect the USB card reader from the unit when you remove
the memory card. Failure to do so may cause malfunction to the
device.
• When you connect your digital audio player to the USB port,
it charges all the time except in standby mode or during tape
recording.
16
RQT8043
/ REW ] or [¢,
/ FF] to select the
Changing the main unit and
Changing the main unit and
EXT-IN
remote control mode
remote control mode
The remote control and main unit are factory-set to
"REMOTE 1" mode.
If your remote control affects other equipment during
operation, you can switch to operate in "REMOTE 2" mode.
To switch to "REMOTE 2" mode
1
While pressing and holding [EXT-IN] on the main unit
Press and hold [2] until "REMOTE 2" appears on
the main unit display.
2
Press and hold [ENTER] and [2] for at least 2
seconds.
The main unit and remote control are now set to
operate in "REMOTE 2" mode.
To return to "REMOTE 1" mode
Perform steps 1 and 2 above but use [1] instead of [2] for
both steps. ("REMOTE 1" appears on the main unit during
step 1.)
The remote control cannot work with the main unit if
their modes are different.
"REMOTE 1" or "REMOTE 2" appears on the main unit
display when you operate the remote control.
*
If "REMOTE 1" appears (The main unit is in "REMOTE 1"
mode.)
Press and hold [ENTER] and [1] on the remote control for
at least 2 seconds.
If "REMOTE 2" appears (The main unit is in "REMOTE 2"
mode.)
Press and hold [ENTER] and [2] on the remote control for
at least 2 seconds.
*
