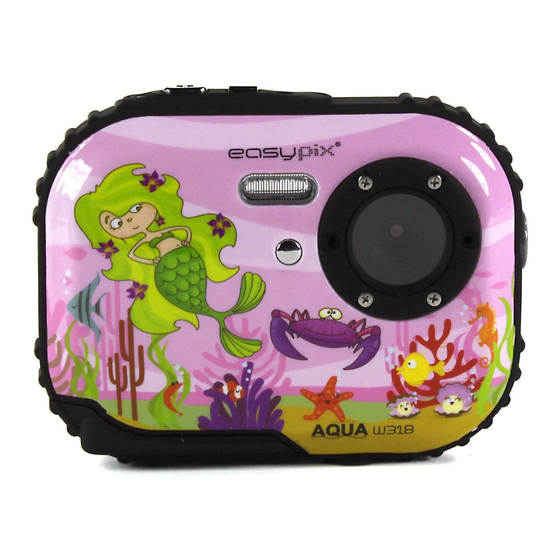
Easypix AQUA W318 Bubbles Руководство по эксплуатации - Страница 6
Просмотреть онлайн или скачать pdf Руководство по эксплуатации для Цифровая камера Easypix AQUA W318 Bubbles. Easypix AQUA W318 Bubbles 16 страниц.

Note: 1. if you don't intend to use your camera for an extended period, please remove the batteries
to avoid battery leakage and corrosion.
2. Please don't remove the battery away or power off your camera at will, otherwise the test
photo in your Digital Camera will be lost if without SD memory card, so please download your test
photo to PC as soon as possible.
3. Do not mix old and new batteries.
4. Do not mix alkaline, standard (carbon-zinc), or rechargeable (nickel-cadmium metal
hydride) batteries.
Installing Memory Card
Your camera has a memory card slot that enables you to insert any "Micro SD" compatible memory
card. Adding a memory card will allow you to increase the capacity of your camera before you have
to transfer photos to PC. Installing the SD memory card as below:
1.
Locate the Memory Card slot.
2.
Insert the Memory card into the slot as correct direction. (look on the photos as below)
3.
Push the card in until you feel it "click" into position. The top of the card should be flushed
with the surface of the camera. An icon
on your camera.
4.
Once an external memory card is inserted in the camera, all the images taken will be stored
on the external memory card.
Note:
1.
Limited internal memory is provided for testing. The image will be lost when the power is
off. Please download the image before power off.
2.
An external memory card is required for normal use; your camera supports any compatible
Micro SD memory card.
3.
"Card inserted, change to SD card" will be shown on the screen when you insert the card,
indicating that photos will be stored in the memory card.
4.
When you take out the memory card, "Card removed, change to Internal RAM" will be
appeared on the LCD screen, now you can only take 1 photo.
Starting Your Camera
will appear on the LCD screen after you power
6
