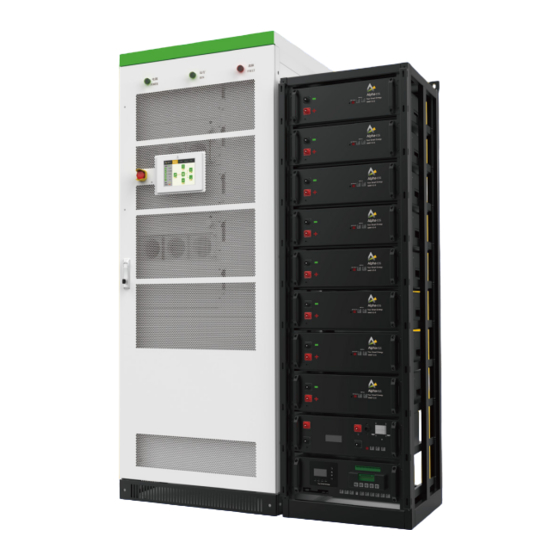
Alpha ESS Storion-T50 Руководство по установке - Страница 15
Просмотреть онлайн или скачать pdf Руководство по установке для Хранение Alpha ESS Storion-T50. Alpha ESS Storion-T50 18 страниц. Energy storage system

INSTALLATION
Table 19 PCS wiring copper bars description
Position Designation
1
PV +
2
PV -
3
Battery +
4
Battery -
5
A (Load)
6
B (Load)
7
C (Load)
8
A (Grid)
9
B (Grid)
10
C (Grid)
11
N
12
Grounding
Figure 4-18 DC wiring
copper bar dimension
4.4.3. System grounding
The grounding of power modules/PCS connection with the rack go through hangers on
the module.
As for rack grounding, the rack bottom is installed with grounded cooper bars. During
wiring, refer to the following table for cable diameter.
WARNING
Notice that the AC output neutral is not connected to ground.
Table 20 Grounding PE cable description
Rated power
50kW
100kW
WARNING
Rack and modules need to be grounded reliably! The grounding resistance should be less
than 4Ω.
Description
PV positive port, dimension is shown as below.
PV negative port
Battery positive port
Battery negative port
Phase A, dimension is shown as below.
Phase B
Phase C
Phase A
Phase B
Phase C
Phase N
Figure 4-19 AC wiring
copper bar dimension
Copper PE line section recommendation (mm²)
≥16
≥25
25
26
4.4.4. PV Side-Wiring
A.
Use a multi-meter to measure the voltage of PV port, and ensure that the voltage is
within input voltage range of PCS.
B.
Disconnect PV switch. Wiring operation can be conducted after using a multi-meter to
measure and confirm that there is no voltage between positive and negative poles of
PV input.
C.
Connect the positive pole of storage battery to "DC+" of DC input of DC switch.
D.
Connect the negative pole of storage battery to "DC-" of DC input of DC switch.
E.
Confirm wiring firmness.
Rated power
50kW
100kW
The PV connection is shown in Figure 4-20.
Figure 4-20 Connect the power line of the PV, With Combiner box
A.
Insert the PV input positive pole through the waterproof terminal into the positive
input point, and lock it with a screwdriver.
B.
Similarly, insert the PV negative pole through the waterproof terminal into the
negative input point, and lock it with a screwdriver. Remember that the negative pole
passes through the Hall.
C.
Connect the power line of the PV Combiner box to the bronze medal of the DC
Cabinet, as shown in Figure 4-20.
D.
Connect the RS485 communication line of the PV combiner box to the RS485
interface of the TOP BMU, as shown in Figure 4-20.
Note: There are numbers on the PV combiner box, remember to have one-to-one
correspondence. For example, "1+" corresponds to "1-", "2+" corresponds to "2-", and
so on.
E.
Connect another PV Combiner box and repeat steps a), b), c).
F.
Connect the RS485 communication line between the two PV combiner boxes, as
shown in Figure 4-20.
Table 21 DC cable description
Copper DC line section recommendation (mm²)
≥35
≥95
INSTALLATION
