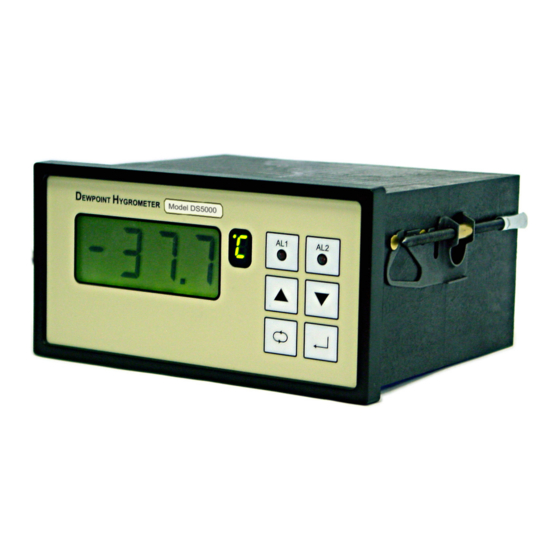
Alpha Moisture Systems DS5000 Руководство по эксплуатации - Страница 11
Просмотреть онлайн или скачать pdf Руководство по эксплуатации для Монитор Alpha Moisture Systems DS5000. Alpha Moisture Systems DS5000 19 страниц. Dewpoint monitor

Operation – While 'unit' is displayed press the '↵' key to enter the subroutine. The LED
now flashes the currently selected engineering unit while the LCD display shows the
corresponding moisture level. Use the ' ' key to scroll through the options until the
required unit is flashing on the LED. Press the '↵' key to select the new engineering units.
Pressing the '5' key at any time reverts to the ' unit' screen without saving any unit changes.
Note: See DS5000 Specification for detailed information on Engineering Units.
9.2 AL 1 & 2
Description – The AL 1 & 2 menu option allows the user to set 2-alarm trigger points. The
trigger points can be any value within the operating range of the currently selected
engineering units. The alarm triggers can be either a risings moisture levels (Hi), or a falling
moisture levels (Lo).
Operation – While 'AL 1 or AL 2' are displayed pressing the ' ↵' key enters the subroutine.
The LCD now displays either 'Hi' or ' Lo'. Use the ' ' key to select the required option
and then press the '↵' key.
Note - If the ' ' key is pressed instead of the ' ↵' key the DS5000 will return to the ' AL 1 or AL 2'
screen on the base level, without saving any changes.
Once the '↵' key is pressed, ' SET1 or SET 2' will be displayed. The user can now escape
using the '5' key or continue by pressing the ' ↵' key. The current or default trigger point
value is displayed. Use the '5', ' 6', ' ', & ' ↵' keys to enter the required trigger point.
Pressing the '↵' key confirms the alarm settings and returns to the ' AL 1 or AL 2' display.
Note – The only way to leave the numerical part of this routine without saving is to allow the 60-
second timeout to occur.
9.3 bELL
Description – The bELL menu option allows the user to set the internal buzzer to On or Off.
Operation – While 'bELL' is displayed press the ' ↵' key to enter the subroutine. The LCD
now displays either 'On' or ' OFF'. Use t he ' ' key to select the required option and then
press the '↵' key. If the ' 5' key is pressed instead of the ' ↵' key, the DS5000 will return to
the 'bELL' screen on the base level, without saving any changes.
9.4 PrES
Description – The PrES menu option allows the user to enter the line pressure and sensor
pressure in PSIg, barg, Mpa (PAS) or kg/cm
readings (PPMv, PPBv, g/m
dewpoint can be displayed. When a pressure has been entered into the DS5000 the LED
display alternates between the current engineering unit and a '≡' icon to indicate the data
displayed is pressure corrected.
1188 Instruction Man DS5000.doc
2
(gcS), so that the displayed absolute moisture
3
and lb/MMSCF) can be pressure corrected and pressure
Page 8 of 16
