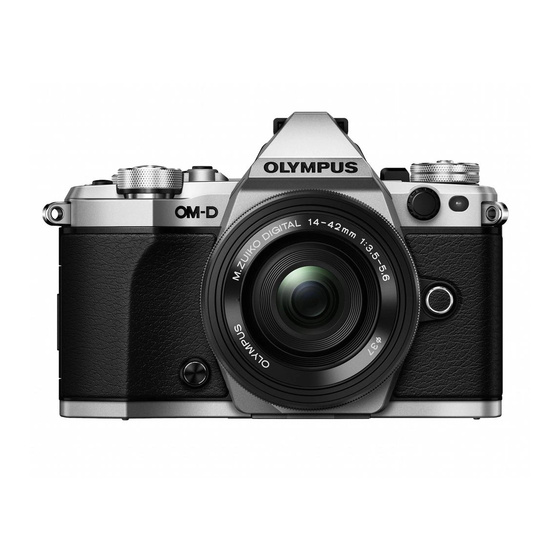
Olympus E-M5 Mark II Руководство пользователя - Страница 8
Просмотреть онлайн или скачать pdf Руководство пользователя для Цифровая камера Olympus E-M5 Mark II. Olympus E-M5 Mark II 15 страниц. Olympus e m5 1250 kit black camera specifications
Также для Olympus E-M5 Mark II: Технические характеристики (8 страниц)

- 1. Camera Setup and Control Reference
- 2. Olympus E-M5II Back View
- 3. Olympus E-M5II (Silver) with M.zuiko ED 12–40Mm F/2.8 PRO Lens
- 4. Charge the Battery
- 5. Super Control Panel or Live View Screen?
- 6. Enable the Custom Menu System
- 7. Switching between the Super Control Panel and Live View Screen with the LV Button
- 8. Initial Camera Configuration
- 9. Camera Control Reference
- 10. Buttons
- 11. Dials
- 12. Levers
- 13. Unusual Icons in Menu Names
Initial Camera Configuration 9
Here are the most critical functions for immediate configuration:
• Date and Time: Page 458
• Language: Page 459
• ISO: Page 370–374
• Metering mode: Page 43
• White balance mode: Page 398
• Color Space: Page 409
• Basic Picture Modes: Page 137
• Super Fine (SF) JPEG mode: Page 394
• Still Picture image recording format: Page 173
• Autofocus mode: Page 274
• Manual focus assist modes: Page 285
• Image Stabilizer: Page 183
• Face Priority for autofocus: Page 291
• Autofocus illuminator light: Page 290
• Frames per second speed: Page 187
• High ISO Noise Filtration: Page 369
• Long Exposure Noise Reduction: Page 367
• Beep sound: Page 361
• Image review: Page 335
• Image display rotation: Page 238
• Grid display: Page 439
• Low battery warning level: Page 448
• Touch Screen activation/deactivation: Page 451
• Playback screen types (image review): Page 335
• Live View screen types: Page 339
• Copyright and Artist Name for image metadata: Page 421
• Image file naming system: Page 414
• Eye detection sensor: Page 441
• Button function configuration (takes some time): Page 295
• Connection to your smartphone or tablet: Page 463
Now that you have configured your camera's initial functions, let's examine the various
buttons, dials, levers, and switches on the camera and briefly discuss the functionality of
each one.
