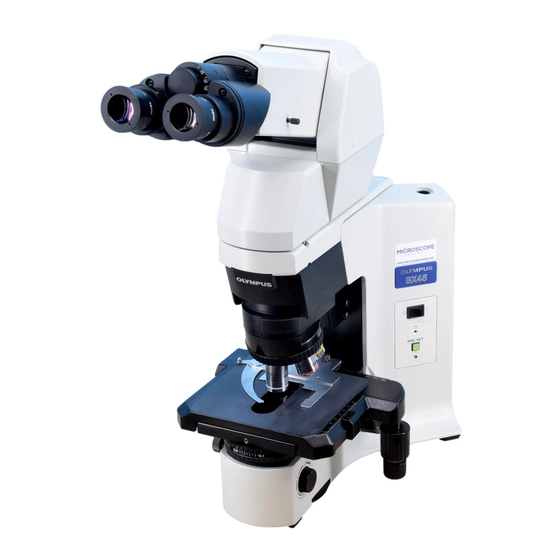
Olympus BX45 Руководство по эксплуатации - Страница 19
Просмотреть онлайн или скачать pdf Руководство по эксплуатации для Микроскоп Olympus BX45. Olympus BX45 40 страниц.

3-5 Condenser
²
@
Fig. 23
|
³
Fig. 24
Fig. 25
1
Centering the Condenser
1. Turn the condenser height adjustment knob @ to raise the condenser to
its upper limit, then use the top lens swing-out lever ² move the top lens
into the light path.
2. Focus on the specimen using the 10X objective.
3. Rotate the field iris diaphragm ring ³ in the direction of the arrow so that
the diaphragm image comes inside the field of view.
4. Manipulate the condenser height adjustment knob @ to focus on the
diaphragm image.
5. Insert the two condenser centering screws | into the condenser center-
ing thread holes (below the
iris diaphragm image to the center of the field of view.
6. Gradually open the field iris diaphragm. The condenser is properly cen-
tered if the iris image is centered and inscribed in the field of view.
7. During actual use, open the field diaphragm slightly until its image cir-
cumscribes the field of view.
}After completing the condenser centration, store the centering screws in
the accommodation positions on the right side of the microscope frame
(page 4) so as not to lose them.
Effects of Field Iris Diaphragm (Fig. 25)
The field iris diaphragm restricts the diameter of the beam of light enter-
ing the objective and thus excludes extraneous light, improving image
contrast. The diameter of the field iris should e adjusted for objective
power to the extent that it just circumscribes the field of view. (See "Com-
patibility of Objectives and Condensers" on the next page.)
}With the 100X objective, the field iris diaphragm image cannot be ob-
served unless the iris diaphragm is minimized. With the 4X objective,
maximize the iris diaphragm to observe it.
(Figs. 23 - 25)
marking) and turn the screws to move the
BX45
15
