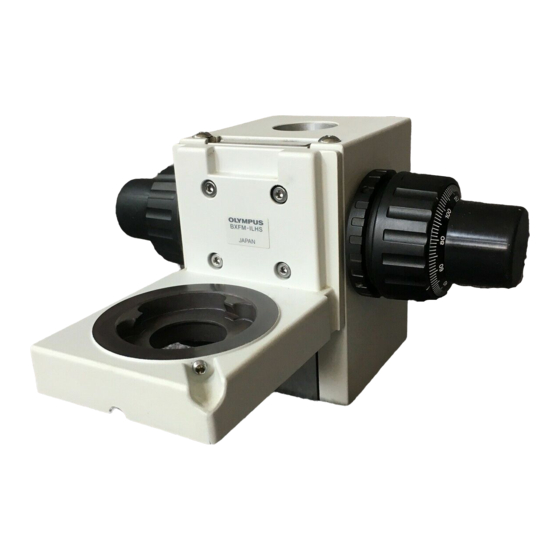
Olympus BXFM-ILHS Руководство по эксплуатации - Страница 28
Просмотреть онлайн или скачать pdf Руководство по эксплуатации для Микроскоп Olympus BXFM-ILHS. Olympus BXFM-ILHS 36 страниц. Focusing unit

10-2 Detailed Assembly Procedures
|
²
Fig. 20
Fig. 21
³
Fig. 22
25
²
@
Fig. 19
³
²
@
|
1
Attaching the Illuminator Holder
Attach the illuminator holder @ on the focusing unit ² securing by using
the 4 screws provided with the holder and the Allen screwdriver.
}To obtain the reference position, clamp the illuminator holder by applying
it against the bottom and right side.
2
Attaching the Counter Spring
}When using the BX-URA2 or BX-RLA2 reflected light illuminator, attach
the counter spring if required.
1. Place the focusing unit ² upside down.
2. Attach the counter sprint to the focusing unit securely by using the 4
screws provided with the counter spring ³ and the Allen screwdriver.
}To obtain the reference position, clap the counter spring by applying it
against the right side.
4
Attaching the U-KMAS Reflected Light Illuminator
1. Loosen the illuminator clamping screw @ using the Allen screwdriver.
2. Fit the illuminator by the round dovetail ² and tighten the clamping
screw @ securely.
With BX-URA2 or BX-RLA2
}Attach the illuminator using the exclusive 4 mm Allen wrench provided
with it.
}Remove the caps of the mounting screws ³ using tweezers, etc.
1. Place the illuminator on the mounting surface by slightly deviating the
illuminator to the right. For the present, it is not required to align the
illuminator mounting screws ³ of the illuminator with the mounting screw
holes | on the illuminator holder.
2. Apply the illuminator toward the left. It will fit in the correct position.
While maintaining this condition, tighten the clamping screws ³ using
the 4 mm Allen wrench.
3. Place the caps of mounting screws ³ on the original position
(Fig. 19)
(Fig. 20)
(Figs. 21 & 22)
